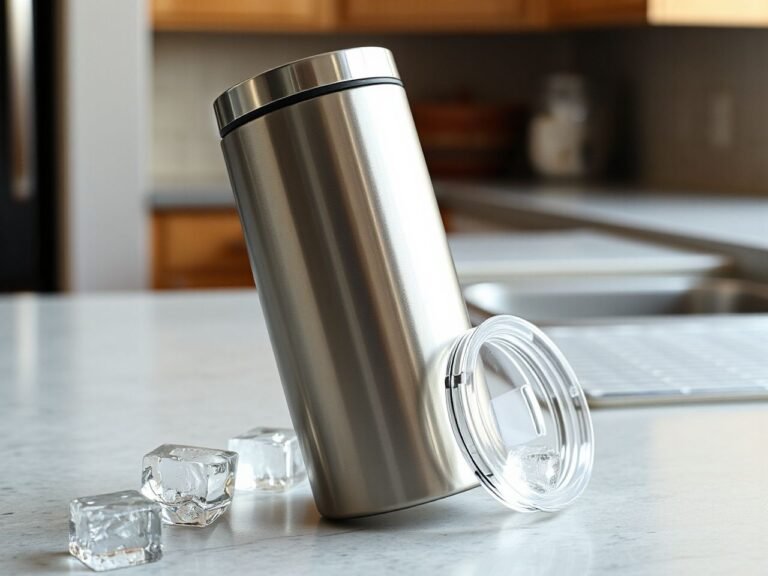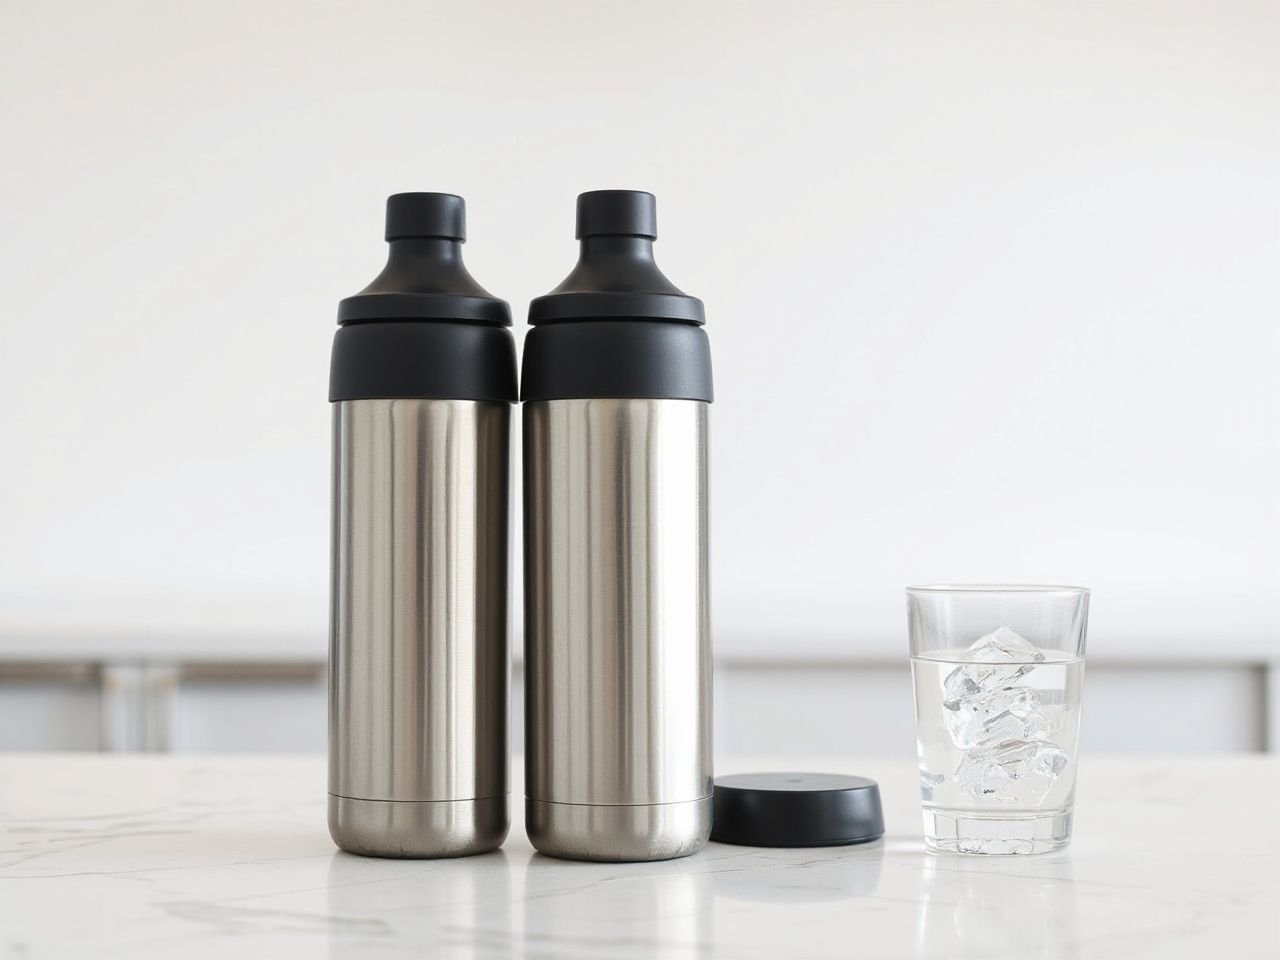
A bottle can look sturdy and still leak into a bag, trap a stale taste beneath its lid, or prove awkward to clean. The important distinction is between the bottle body, the closure system, and the parts that contact the drink: material choice alone does not determine leak resistance, cleanability, or suitability for hot and carbonated liquids. An informed guide should compare the complete system, including openings, threads, gaskets, straws, insulation, and care requirements, rather than treating capacity or appearance as the main decision. That is the right place to begin a water bottle buying guide.
Key Takeaways
- Judge the opening, lid, threads, gasket, and care instructions alongside the bottle material.
- Hot liquids and carbonation can create pressure, so closure design and safe opening matter.
- The easiest bottle to own is the one whose removable parts can be cleaned, dried, and replaced.
Beginner: Start with the Complete Bottle System
Step 1: Define the drink and the setting
Begin with what the bottle must hold and where it will travel. Plain water places different demands on a closure than a hot drink, a fizzy drink, or a strongly flavoured beverage. A bottle for a desk can prioritise easy washing, while one carried in a work bag needs careful attention to the seal and the way the lid opens.
Capacity matters, but it should not lead the decision. A larger body may reduce refills while becoming heavier or harder to place in a bag, and a small opening may make filling difficult even when the bottle itself is easy to carry. Look at the complete path from hand to drink: how the bottle is filled, how the lid is removed, how the liquid reaches the mouth, and how every part will be washed afterwards.
- Plain water: prioritise a dependable seal, a comfortable rim, and simple drying.
- Hot liquids: check the manufacturer’s permitted use, lid design, pressure warnings, and opening method before filling.
- Carbonated liquids: confirm that the bottle and closure are intended for them rather than assuming a sealed bottle is suitable.
- Flavoured drinks: inspect straws, threads, and removable seals because residue can remain in narrow spaces.
A water bottle is a food-contact container with moving parts, not merely a hollow vessel. The mouthpiece, gasket, straw, threads, and underside of the lid can affect the drink as much as the body material does.
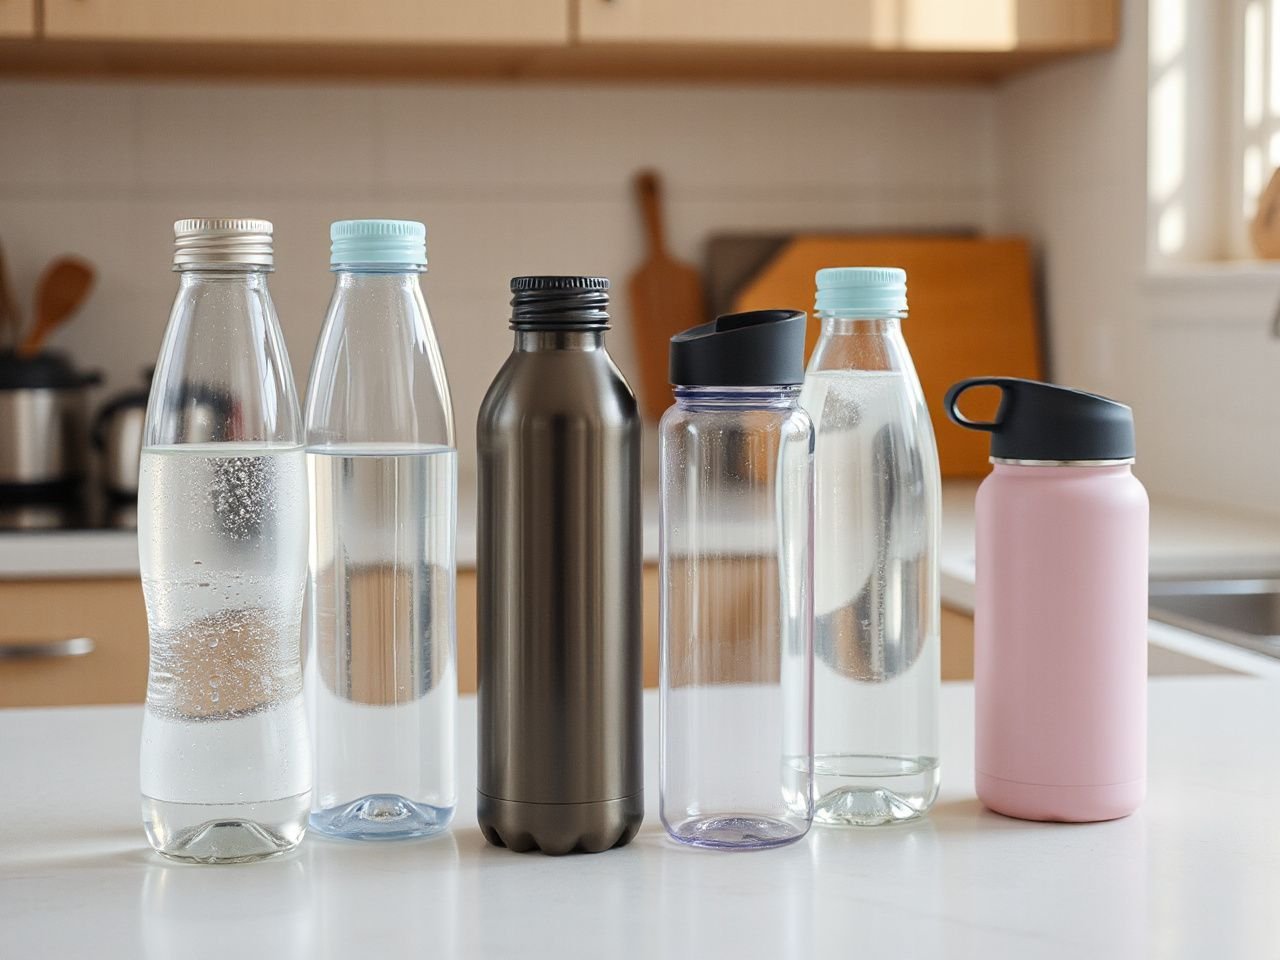
Step 2: Compare stainless steel, glass, and plastic
Stainless steel is a common metal choice for reusable bottles. Metal bottles frequently use an epoxy or resin liner to help prevent corrosion and reduce the migration of odours and tastes. Food-grade stainless steel described as grade 304 or 18/8 is used in bottles intended not to impart an odour or taste, but the body alone does not tell you how the lid, liner, or gasket will behave.
A single-walled metal bottle conducts the thermal energy of its contents to the outer surface, so the exterior can feel warm or cold with the drink. Double-walled metal bottles commonly use vacuum insulation. The vacuum separates the walls and reduces the path for heat transfer, helping the contents retain their temperature more effectively than a single wall. The lid remains part of that system; a poorly fitting or minimally insulated closure can still affect the overall result.
Borosilicate glass gives the drink a visible interior and can make lingering flavours easier to identify. Its main appeal is direct inspection: the reader can see residue, cloudiness, or a film rather than relying on smell alone. A protective outer sleeve may make handling more comfortable, but the sleeve can also hide moisture or dirt around the outside of the glass, so the care instructions deserve close attention.
Polypropylene is a common plastic used for reusable drinkware and lid parts. It can keep a bottle light, but the relevant question is not simply whether the body is plastic. Inspect the drinking surface, threads, valve, straw, and gasket, then confirm the manufacturer’s instructions for hot liquids, dishwasher use, and any drinks beyond plain water.
Stainless steel, borosilicate glass, and polypropylene can each suit a reusable bottle, but none of those materials proves that a bottle is leakproof, easy to clean, or suitable for heat and carbonation. The complete design decides those points.
Step 3: Put the rim before the pattern
The rim is where a bottle becomes tableware. A smooth, well-shaped drinking edge should meet the mouth without forcing the drink through a sharp seam, awkward overhang, or poorly placed opening. A wide-mouth opening can make filling easier and give a brush more direct access to the interior, although a broad opening may spill more readily while drinking and can require a separate drinking lid.
Check the rim with your eyes and fingers. Look for a clean join, a surface that can be wiped fully, and an edge that does not leave a hidden channel beneath the cap. A decorative finish cannot compensate for a rim that catches residue or makes every sip uncomfortable.
For table use, the mouthpiece should guide liquid predictably. For walking or exercise, a straw lid can let the user drink without tipping the bottle, but the straw creates another internal surface and another place for residue to collect. A screw-top lid usually exposes a broader, simpler opening for inspection, while a flip-top lid may offer faster access but can contain hinges, channels, or locking pieces that need deliberate cleaning.
Intermediate: Match the Closure to the Drink
Step 4: Understand why bottles leak
A leak usually begins at the closure system rather than in the bottle body. The silicone gasket may be damaged, displaced, dirty, or incompatible with the lid or bottle opening. Threads can also fail to meet cleanly when the cap is cross-threaded, incompletely tightened, or carrying residue that prevents full contact.
Remove the gasket if the design permits it and inspect both sides. Look for visible damage, a section that has folded over, trapped particles, or a gasket that no longer sits evenly in its channel. Clean the mating surfaces, reseat the gasket according to the manufacturer’s instructions, and close the lid without forcing it. If the seal remains unreliable, replacing the gasket or the closure may be more sensible than replacing a sound bottle body.
A bottle lid can leak because a silicone gasket is dirty, damaged, displaced, or incompatible with the closure. The practical repair is to inspect the gasket and threads before blaming the bottle body.
Step 5: Choose among screw-top, straw, and flip-top lids
A screw-top lid has a straightforward advantage for cleaning: the opening and threads are usually visible when the lid is removed. That does not make every screw-top simple. Threads can retain residue, and a gasket fitted beneath the cap still needs to be removed, washed, rinsed, and dried when the care instructions allow it.
A straw lid adds a narrow passage that may need a suitable brush. The outer mouthpiece can look clean while residue remains inside the straw or beneath its valve. If a straw lid is the right format for how you drink, confirm that the straw and valve can be separated without damage and that replacement parts are available from the manufacturer.
A flip-top lid can offer quick access and may be useful while moving, but its hinge, locking area, and underside deserve close inspection. The easiest lid to clean is the lid whose wet-contact parts can be removed, reached, rinsed, and dried fully. Lid style alone does not settle that question.
- Choose a screw-top when direct access and visual inspection are your first priorities.
- Choose a straw lid only when its internal passage and valve can be cleaned properly.
- Choose a flip-top when its hinge, lock, and underside are accessible enough for routine washing.
Step 6: Treat hot and carbonated liquids as separate cases
Hot liquids can create pressure in a sealed bottle, and the drink itself can cause burns if it escapes suddenly. Carbonated liquids also create pressure in a sealed container. A bottle designed for still water should not automatically be treated as suitable for either use.
Read the manufacturer’s instructions for permitted drinks, temperature limits, opening guidance, and cleaning. Open a bottle containing a pressurised drink carefully and away from the face. Do not infer suitability from the presence of stainless steel alone; the lid, gasket, threads, venting arrangement, and body construction all contribute to safe use.
The U.S. Food and Drug Administration provides information about food-contact materials and consumer food safety, while the U.S. Consumer Product Safety Commission provides consumer product safety information. Those government resources are useful places to check general safety guidance when a label or manual leaves an important question unanswered.
Step 7: Decide whether insulation earns its space
Vacuum insulation works by reducing heat transfer between the inner and outer walls. It can help a drink remain closer to its starting temperature, while the exterior is less directly exposed to the contents than the surface of a single-walled metal bottle. The lid still matters because an opening, drinking spout, or straw can provide a less insulated route.
Insulation adds design complexity. The bottle may have a narrower neck, a heavier construction, or care restrictions that do not apply to a simple single-wall vessel. An insulated bottle is not automatically suitable for every drink, freezer, or cleaning method. Follow the manufacturer’s instructions for all three.
Vacuum insulation reduces heat transfer through the space between double walls, but it does not make a bottle universally safe for hot drinks, carbonation, freezing, or aggressive cleaning. The care label remains the deciding reference.
Advanced: Build a Cleaning and Maintenance Routine
Step 8: Read the dishwasher guidance before loading
Dishwasher compatibility varies by material, insulation, finish, lid, and gasket. A bottle body may tolerate the dishwasher while its lid, printed finish, straw, or seal does not. A double-walled insulated bottle also requires its own care instructions rather than being treated like an ordinary open container.
The manufacturer’s care instructions should take precedence. Separate the lid, gasket, straw, valve, and other removable parts only as the instructions permit. Place each part where water and detergent can reach it, then allow the pieces to dry completely before reassembly. If the manual says to wash a component by hand, that instruction applies even when another part is dishwasher-safe.
Dishwasher-safe does not mean residue-proof. A dishwasher can wash the accessible surfaces while leaving a gasket channel, straw interior, or threaded recess damp. Disassembly and drying remain part of proper care.
Step 9: Clean openings, threads, straws, and seals
Start by separating every removable part that the manufacturer permits you to remove. Wash the bottle interior, mouthpiece, cap threads, gasket channel, underside of the lid, and straw with suitable dish soap and a brush that reaches the shape of the part. Rinse until no detergent remains, then dry the components separately rather than trapping moisture inside a closed bottle.
A wide-mouth bottle is generally easier to inspect and gives a cleaning brush a more direct route to the interior. A narrow opening can still be serviceable, but the user must pay closer attention to the base and any areas the brush cannot reach. The opening should influence the decision before the colour or pattern.
Straws deserve their own cleaning step. Run a suitable brush through the full passage where the design allows it, and inspect the ends for film or trapped particles. A valve or bite point may need to be opened according to the instructions rather than pried apart with a sharp object.
Reusable drinkware shares a basic care issue with reusable food containers: joints and seals need more attention than broad, smooth surfaces. The same principle applies to travel mugs and sports hydration packs, where valves, threads, and mouthpieces can retain residue.
Step 10: Remove smells and tastes without guessing
Persistent smells or tastes usually point to residue held in a gasket, straw, lid channel, or scratched surface rather than to the visible bottle wall alone. Disassemble the closure, wash each accessible part, rinse thoroughly, and dry everything separately. Repeat the inspection around threads and beneath the gasket.
Do not mix cleaning chemicals or use an abrasive method that could damage a liner, finish, gasket, or plastic surface. The safest cleaning method is the one specified for that bottle’s materials and removable parts. If an odour remains after proper cleaning, replacing the affected seal, straw, or lid may address the source more directly than repeatedly treating the entire bottle.
A lingering taste can come from a removable lid part even when the bottle body appears clean. Inspecting the closure first saves time and keeps cleaning focused on the surfaces that contact the drink.
Step 11: Know when a seal needs replacing
Replace a gasket, straw, valve, or lid when the part is visibly damaged, no longer seats correctly, retains an odour that cleaning does not remove, or allows liquid to escape after the threads and contact surfaces have been cleaned. A gasket that has become misshapen may look intact but fail to compress evenly.
Use a replacement part that matches the bottle and lid. An almost-fitting gasket can create a false sense of security because the lid may close while the seal remains incomplete. Keep the old part until the replacement is confirmed, then check the closure according to the manufacturer’s instructions before returning the bottle to a bag.
Reusable bottle ownership has ongoing costs even when the body remains sound. Those costs can include replacement gaskets, straws, valves, lids, cleaning brushes, and detergent, along with the time required to disassemble and dry the parts. A bottle with accessible, replaceable components may be more practical than one whose body looks attractive but whose closure cannot be maintained.
Advanced: Make the Choice Fit Your Routine
Step 12: Prioritise the features that affect daily use
Write down the conditions the bottle must handle before comparing finishes. A desk bottle may need a comfortable rim and easy cleaning. A commuting bottle may need a closure that stays secure while carried. A bottle for outdoor activity may need a drinking method that works without repeated unscrewing, provided its straw or valve can still be cleaned properly.
- For a clean, direct sip: inspect the rim and the opening before considering decoration.
- For frequent refilling: look for an opening that accepts water easily and can be checked inside.
- For bag transport: focus on gasket condition, thread engagement, and the manufacturer’s leak guidance.
- For hot or fizzy drinks: verify permitted use and opening instructions rather than relying on material assumptions.
- For low-maintenance ownership: count every removable part and check how each one is cleaned and replaced.
Hydration habits can influence the best format, but convenience should not erase care requirements. A bottle that encourages regular drinking still needs a closure that can be cleaned and a body that suits the intended drink.
Step 13: Use the label and manual as part of the inspection
Read the care symbols, permitted-use notes, material description, and replacement-part information before purchase. If the manufacturer does not clearly explain dishwasher use, hot liquids, carbonation, or freezer use, treat that missing information as a reason to investigate rather than as permission.
Look for consistency between the bottle, lid, and manual. A body may be described as stainless steel while the drinking surface is polypropylene and the seal is silicone. Those parts have different care needs, so the most restrictive instruction may govern the complete system.
The manufacturer’s manual should answer how a bottle may be washed, what drinks it may hold, and which parts can be replaced. A product description that only names the body material leaves important ownership questions unanswered.
Step 14: Keep adjacent kitchen choices in perspective
A bottle belongs to a wider set of reusable drinkware and food-storage decisions. If you are comparing containers for cold storage, the freezer containers buying guide explains why material, seals, and care instructions need to be considered together. For another rim-led tableware decision, the cereal bowls buying guide keeps the focus on the part that meets the mouth rather than on decoration alone.
The useful habit transfers across categories: inspect the contact surface, identify the parts that trap residue, and check the care instructions before judging appearance. A reusable bottle rewards the same discipline.
Frequently Asked Questions
How do I choose between stainless steel, glass, and plastic?
Choose stainless steel when a metal body and possible insulation suit the routine, while checking the liner and closure materials. Borosilicate glass offers a visible interior and makes residue easier to inspect. Polypropylene can provide a light plastic format, but the lid, straw, gasket, and care instructions still determine suitability. No body material alone proves that a bottle is leakproof, dishwasher-safe, or suitable for hot and carbonated drinks.
Which lid is easiest to clean: screw-top, straw, or flip-top?
A screw-top is often the simplest design to inspect because the opening and threads are exposed when the lid is removed. A straw lid adds an internal passage and possibly a valve, while a flip-top may add hinge and locking areas. The practical answer depends on whether the parts can be separated, reached, rinsed, and dried. Inspect the underside before choosing by drinking style.
Can I put my insulated water bottle in the dishwasher?
Do not assume that insulation makes a bottle dishwasher-safe. Compatibility varies by material, insulation, finish, lid, and gasket, and the body may have different instructions from the closure. Follow the manufacturer’s care guidance. If hand washing is required, separate the permitted removable parts, clean the threads and gasket channel, rinse thoroughly, and dry the components before reassembly.
Why does a water bottle still smell after washing?
A persistent smell often remains in a gasket, straw, valve, thread, or underside channel that was not fully reached during washing. Disassemble the closure as directed, clean each part with suitable soap and a correctly sized brush, rinse well, and dry the pieces separately. If the odour remains after proper cleaning, replace the affected removable part rather than repeatedly treating a sound bottle body.
Are metal bottles suitable for acidic or carbonated drinks?
Metal alone does not answer that question. Some metal bottles use an epoxy or resin liner to help prevent corrosion and reduce odour or taste migration, but the lid and seal also matter. Carbonated liquids can create pressure in a sealed bottle, and hot liquids can do so as well. Check the manufacturer’s permitted-use and opening guidance before filling the bottle.
How do I know when a lid or gasket needs replacing?
Inspect the gasket for damage, distortion, dirt that will not wash away, or a poor fit in its channel. A lid may need replacement when it no longer closes securely, leaks after cleaning and correct reassembly, or contains a damaged hinge, valve, or thread. Match replacement parts to the bottle and closure. An almost-fitting seal can leak even when the cap appears closed.
What ongoing costs come from owning a reusable water bottle?
Ownership can involve replacement gaskets, straws, valves, lids, cleaning brushes, and detergent. The time needed to separate, wash, rinse, and dry the parts is another practical cost. A bottle with accessible replacement parts may remain useful longer than one whose closure cannot be maintained. Check availability and care requirements before treating the body material as the full value of the bottle.
A sound choice begins at the rim. Once the drinking edge feels right, inspect the opening, closure, gasket, threads, insulation, and care instructions in that order. Appearance can finish the decision, but the complete system should make it.