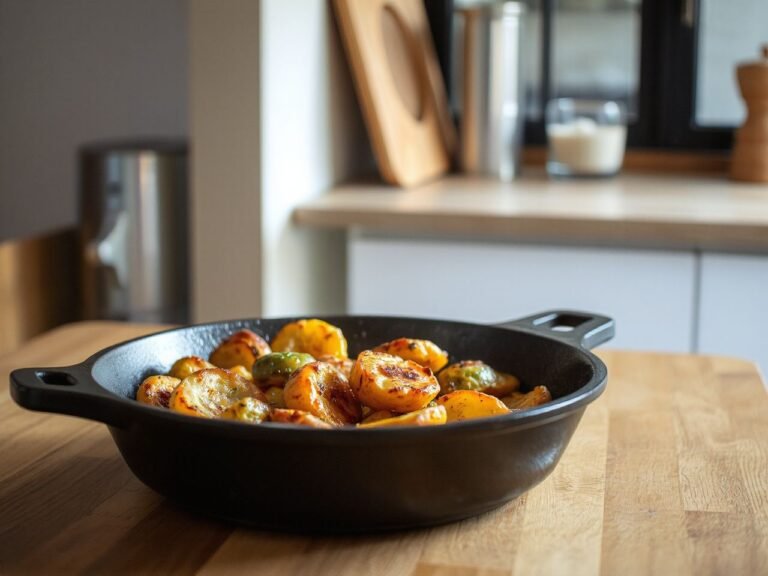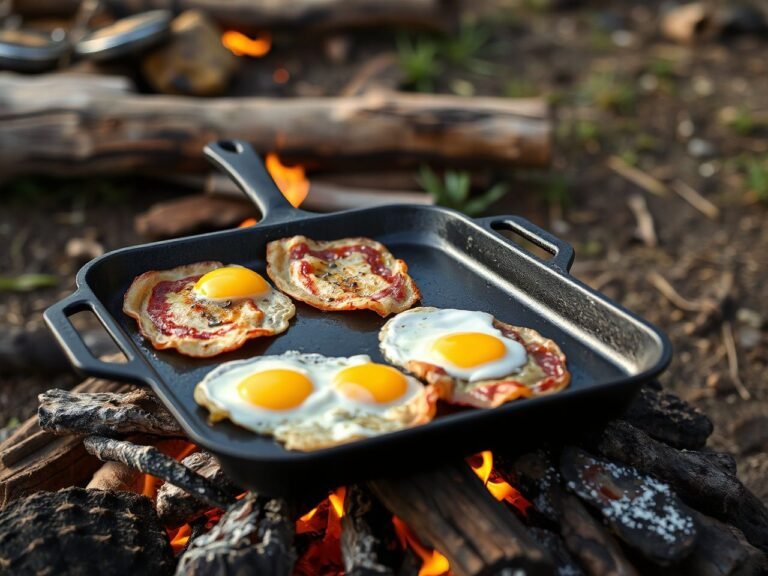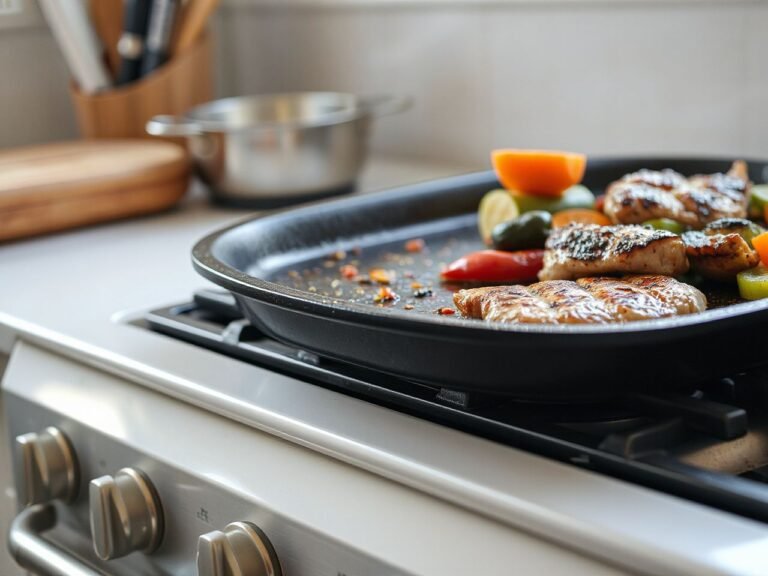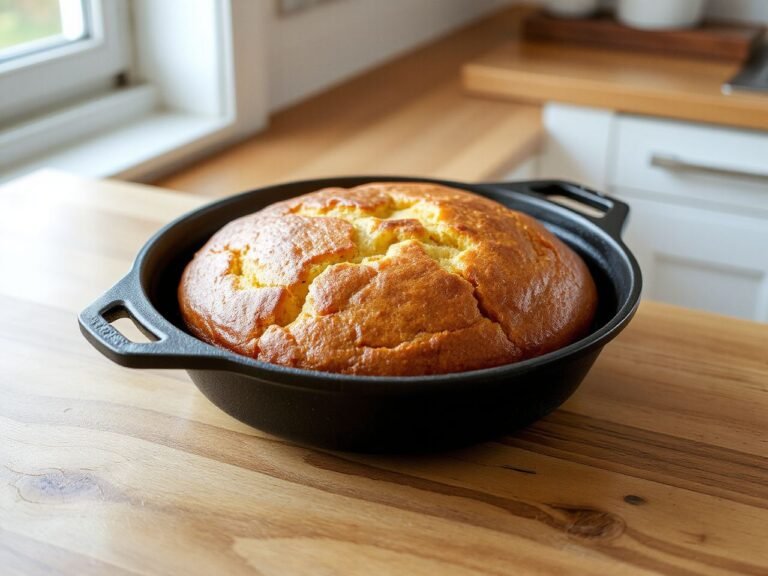
Flaxseed oil is frequently recommended as the ultimate seasoning oil, but that advice is built on a misunderstanding of what seasoning actually needs to survive. A beautiful, glassy surface that shatters at 450°F is a decoration, not a functional coating. If you want a durable, non-stick layer that withstands real cooking, the question of what oil is best for seasoning cast iron deserves a more careful answer than a simple product name.
Before you season a brand-new pan or re-season an older one, the real distinction is this: seasoning is not about picking the oil with the highest smoke point. It is about choosing one that polymerizes into a resilient, cross-linked plastic-like layer. Flaxseed oil produces a hard finish, but that hardness comes with brittleness. Grapeseed oil and Crisco produce layers that flex under thermal shock instead of cracking. The oil matters, but the way you apply it matters more. If you’re still deciding which skillet to buy before you season it, our Victoria cast iron skillet review compares heat distribution across several models.
Key Takeaways
- The oil’s polymerization behavior matters more than its raw smoke point. A high smoke point does not guarantee a durable seasoning layer.
- Grapeseed oil and Crisco shortening offer the best balance of durability, cost, and ease of use for most home cooks. Flaxseed oil often flakes despite its glossy appearance.
- Thin layers are non-negotiable. Wipe the pan nearly dry before heating, then repeat 3–5 times to build a seasoning that survives daily cooking.
The Real Job of Seasoning Oil: Polymerization, Not Smoke Point
Most guides steer you toward oils with high smoke points, assuming that the oil must survive high heat without burning. That logic is backwards. Seasoning is created when oil undergoes polymerization — a chemical reaction where heat causes the oil’s fatty acid chains to cross-link into a solid, plastic-like film. The oil must reach a temperature that triggers this reaction, not merely avoid burning. A refined avocado oil with a 520°F smoke point will still polymerize, but so will a modest canola oil at 400°F if held there long enough.
Smoke point matters less than you think
Smoke point is the temperature at which an oil begins to break down and release visible smoke. Unrefined oils have lower smoke points because they contain free fatty acids and impurities that degrade faster. For seasoning, a moderate smoke point is actually helpful: oils that polymerize at lower temperatures are easier to work with in a home oven that struggles to hold 500°F. The Michigan State University Extension guide on seasoning cast iron recommends heating the pan to 350–400°F, which is below the smoke point of many refined oils. The key is holding the pan above the oil’s polymerization threshold for 30–60 minutes, not blasting it at 550°F.
Polymerization is the actual goal
When you heat a thin film of oil past its polymerization point, the unsaturated fatty acids cross-link to form a hard, non-stick surface. Oils high in polyunsaturated fats — like flaxseed, grapeseed, and walnut oil — polymerize more readily because they have more double bonds available for cross-linking. Saturated fats like coconut oil and lard polymerize slowly and produce a softer, less durable layer. That’s why lard was traditional for decades but requires more maintenance than modern refined oils. Seasoning oil must balance two properties: enough unsaturation to polymerize quickly, and enough saturation to remain flexible once polymerized. Oils that are too polyunsaturated (flaxseed) create a dense but brittle matrix. Oils that are too saturated (coconut oil) never fully harden and stay sticky.
Flaxseed oil contains roughly 70% polyunsaturated fat, which is why it polymerizes into an extremely hard layer. That hardness is also its failure: a rigid polymer cannot absorb the thermal expansion and contraction of cast iron as it heats and cools. The result is micro-cracks that eventually flake off. Grapeseed oil, at about 65% polyunsaturated fat, sits in a better zone. Crisco shortening — a blend of fully hydrogenated soybean and palm oils — polymerizes into a slightly softer but far more flexible film that resists flaking for years. Lodge Cast Iron’s official seasoning guide does not specify a single oil but emphasizes thin coats and repeated heating, which aligns with the science: the process, not the oil, controls the final durability.
Oil by Oil: Which Ones Build the Toughest Seasoning Layer
Here is the honest breakdown by the numbers, focused on polymerization behavior rather than marketing claims. I would not put flaxseed oil on a daily-use skillet, even though many bloggers swear by it. The decision hinges on how the oil’s molecular structure responds to repeated thermal cycling.
Flaxseed oil: gorgeous but brittle
Flaxseed oil produces a deep, glossy black finish after just two or three layers. That visual appeal is why it went viral years ago. But the polymer film is extremely rigid. Cast iron expands and contracts by a measurable amount between room temperature and 450°F. A rigid seasoning layer cannot stretch with the metal, so it develops hairline fractures after a dozen heating cycles. The seasoning then flakes off in small black specks, which you will notice in your food. This is the most common complaint among people who followed the flaxseed method perfectly. The oil works on paper, but the material properties do not hold up in a real pan that sees uneven stovetop heat.
Heat distribution is the hidden variable. If your burner has a hot spot — and most gas and electric coils do — that area of the pan heats faster and expands more. A brittle seasoning layer cracks first at the hot spot boundary. A flexible layer stretches. That is why I would avoid flaxseed oil for any pan you intend to use on a burner, not just in the oven.
Grapeseed oil and Crisco: the workhorses
Grapeseed oil hits the sweet spot. It polymerizes at around 420°F, which is achievable in any home oven. The resulting layer is hard enough to resist scraping from metal spatulas but flexible enough to survive repeated heating and cooling. It also has a neutral flavor and leaves no sticky residue when applied correctly. Crisco shortening behaves similarly but is even more forgiving: its blend of saturated and monounsaturated fats produces a slightly softer polymer that self-heals small scratches more easily. Both are inexpensive and available everywhere. For a single choice that works on every cast iron pan from a budget Lodge to a premium Field Company skillet, grapeseed oil or Crisco is my answer to what oil is best for seasoning cast iron.
Canola oil and vegetable oil (usually soybean oil) are acceptable backups. They polymerize at slightly lower temperatures and produce a moderately durable layer. Their biggest drawback is that they can leave a faint yellow tint if applied too thickly. But with proper technique, they work fine. Lard and bacon fat, the traditional choices, create a soft seasoning that requires frequent touch-ups but develops excellent non-stick properties over years of use. If you cook bacon regularly, the residual fat does much of the seasoning maintenance for you.
Olive oil, coconut oil, and others to avoid or use sparingly
Olive oil, especially extra virgin, has a smoke point around 350–410°F depending on quality. That is too low for reliable polymerization in a home oven, and the oil’s high level of oleic acid (a monounsaturated fat) polymerizes into a sticky, gummy layer that never fully hardens. The result is a pan that feels tacky to the touch. If you have nothing else, you can season with refined light olive oil, but be prepared for a softer, more maintenance-heavy surface. Coconut oil is primarily saturated fat, so it polymerizes very slowly and leaves a soft, waxy film. Peanut oil has a high smoke point and a decent fatty acid profile, but it is more expensive than grapeseed without a clear performance advantage. Avocado oil is similar: high smoke point, but its monounsaturated dominance produces a more flexible yet less durable layer than grapeseed.
Carbon steel pans face the same seasoning dynamics as cast iron, so the same oil recommendations apply. Enameled cast iron does not need seasoning at all — its glass surface is already non-stick and requires no oil polymerization. Do not confuse the two.
The Technique That Matters More Than Your Oil Choice
If you season with perfect oil but sloppy technique, you get a sticky, flaky mess. If you season with mediocre oil and disciplined technique, you get a durable pan. The process controls the outcome because polymerization only happens correctly within a narrow window of oil thickness and temperature. Here is the method that works every time.
Thin coats: the wipe-away method
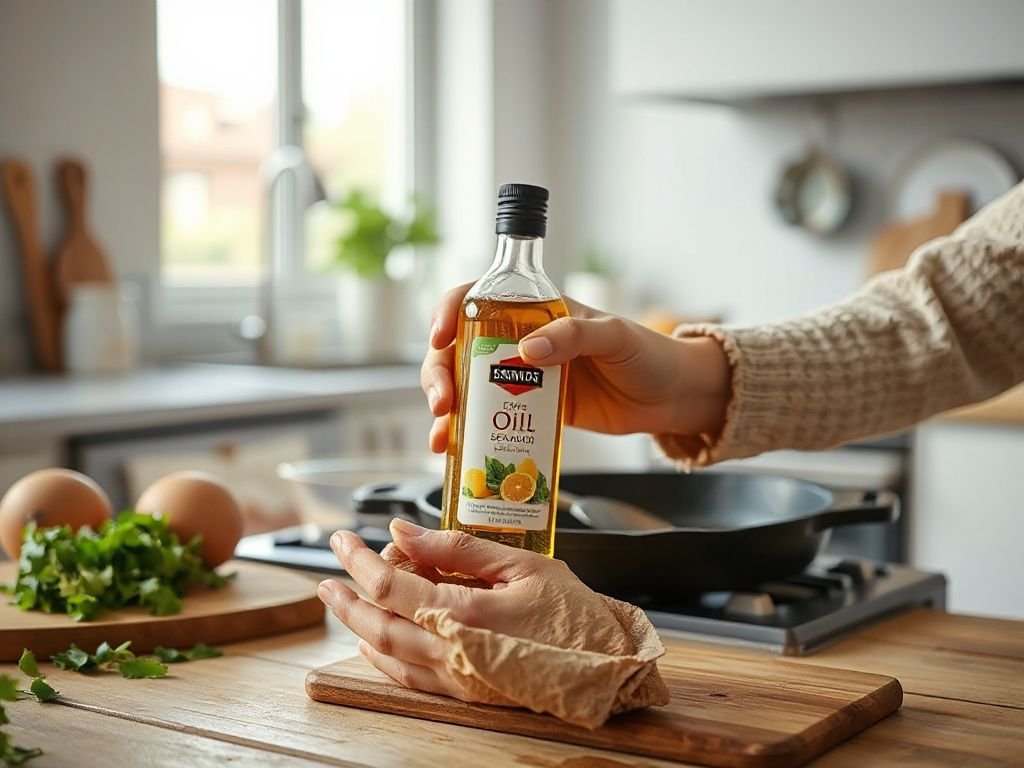
The single most common mistake is applying too much oil. A thick layer does not polymerize evenly. The surface hardens while the underlying oil remains liquid, creating a gummy, sticky layer that never fully cures. The correct method is to pour a small amount of oil (about half a teaspoon) onto the pan, then wipe it over the entire surface with a paper towel. Now take a clean, dry paper towel and wipe the pan as if you made a mistake and are trying to remove all the oil. You should barely be able to see a sheen. That ultra-thin layer is what polymerizes into a clean, hard finish.
Temperature and time: the polymerization curve
Most oils need at least 30 minutes above their polymerization threshold to fully cross-link. Setting your oven to 450°F and baking for one hour works for grapeseed, canola, vegetable oil, and Crisco. For flaxseed oil, some guides recommend 500°F, but that higher temperature accelerates brittleness. The oven temperature must be stable — if your oven cycles between 400°F and 480°F, the oil layer will polymerize unevenly, leaving weak spots. This is where heat distribution matters: an oven with poor temperature control produces a spotted, uneven seasoning even if the oil is perfect.
On a stovetop, you can season a pan by heating it dry, then wiping a thin layer of oil over the interior and heating until it just begins to smoke. Remove from heat, wipe again with a clean towel, and repeat. This method works but requires constant attention. The oven method is more foolproof because it applies heat from all sides, including the bottom and handle, which prevents hot spots from over-curing one area.
How many layers do you need?
For a brand-new pan, three to five thin layers produce a solid base. Each layer adds a negligible amount of thickness but significantly improves durability and non-stick performance. The first layer bonds to the bare iron. The second and third fill in microscopic gaps. After five layers, additional coats provide diminishing returns unless you have a specific reason, such as seasoning the exterior for rust protection. A well-seasoned pan does not look like a thick, glossy coating — it looks like dark, semi-matte metal with a slight sheen. If your pan looks like it has a plastic film, you used too much oil per layer.
Seasoning a new cast iron skillet is exactly the same process as re-seasoning an old one. The only difference is that a new pan typically comes with a factory seasoning layer that you can build upon directly. A stripped or rusted pan needs the old seasoning removed first, which we will cover below. If you’re shopping for a high-quality pan with even heat distribution, our Stargazer cast iron skillet review includes measurements of how evenly each model heats across the cooking surface.
When Seasoning Goes Wrong: Flaking, Stickiness, and Rust
Even with the right oil and technique, seasoning can fail. Understanding why helps you fix the problem instead of starting over repeatedly. Most seasoning failures trace back to three causes: too much oil, too high heat during polymerization, or washing with harsh detergents.
Why seasoning flakes off
Flaking is almost always the result of a brittle polymer layer. Flaxseed oil is the primary culprit, but any oil can flake if it was applied too thickly or cured at too high a temperature. A thick layer develops internal stress as the outer surface hardens before the inner oil, creating a weak boundary that cracks under thermal cycling. The fix is to strip the flaking areas with steel wool or coarse salt, then re-season using thin layers of grapeseed oil or Crisco at 450°F. Do not sandblast the entire pan unless the flaking is widespread — you only need to remove loose material, not all of the old seasoning.
Sticky surfaces and how to fix them
A sticky pan means the oil did not fully polymerize. This happens when the oil was too thick, the oven temperature was too low, or the baking time was too short. The uncured oil remains as a tacky film on the surface. To fix it, place the pan in a 500°F oven for one hour with no additional oil. The heat will finish the polymerization and harden the sticky layer. If the pan is extremely sticky, scrub it with a paste of coarse salt and a little oil, rinse with hot water, dry completely, and then apply one thin layer of oil and bake at 450°F for an hour. Do not use soap and a scouring pad — that will strip the entire seasoning and force a full restore.
Olive oil leaves a sticky residue more often than any other oil because its monounsaturated fats polymerize into a soft, gummy film. If you seasoned with olive oil and the pan feels tacky, you can either keep cooking with it and let the heat gradually harden the surface, or strip and re-season with grapeseed oil. The latter is faster and more predictable.
Restoring a rusted pan
Rust forms when bare iron is exposed to moisture and air. A well-seasoned pan has a polymer barrier that prevents this, but scratches or chips in the seasoning allow rust to start. To restore a rusted cast iron pan, scrub the rust off with steel wool or a wire brush until you reach bare metal. Rinse with water, dry immediately with a towel, then place the pan on a burner over low heat for a few minutes to evaporate any remaining moisture. Once dry, immediately apply a thin layer of oil and begin the seasoning process from scratch. Rust removal is a mechanical process; do not use chemical rust removers designed for automotive use. The pan is safe once the rust is gone and the surface is seasoned.
Preventive maintenance is simple: after each use, wash the pan with hot water and a stiff brush (mild soap is acceptable if the seasoning is well-established), dry it thoroughly on a burner, and wipe a very thin layer of oil over the cooking surface while the pan is still warm. This routine replenishes the seasoning and keeps rust away. Cleaning cast iron without ruining the seasoning is easier than most people think — the key is not soaking the pan and not using steel wool on a healthy layer.
If you’re restoring an old pan or buying a new one, the quality of the casting affects how evenly the seasoning bonds. A pan with uneven thickness will have hot spots that cause localized flaking. Our Field Company cast iron skillet review details which models have the most consistent wall and base thickness for uniform heat distribution.
Frequently Asked Questions
What oil is best for seasoning cast iron if I want maximum durability?
Grapeseed oil offers the best combination of polymerization speed, flexibility, and cost. It creates a hard but not brittle layer that survives daily stovetop use. Crisco shortening is an equally durable alternative with a slightly softer polymer film that resists chipping even better. Avoid flaxseed oil for anything you cook on a burner because its rigid layer flakes under thermal cycling.
Can I use olive oil to season my cast iron pan?
Refined light olive oil can work in a pinch, but extra virgin olive oil is a poor choice. Its smoke point is too low, and its high monounsaturated fat content polymerizes into a sticky, gummy film that never fully hardens. The pan will feel tacky and food will stick. Use grapeseed, canola, or vegetable oil instead for a clean, durable seasoning.
How many layers of seasoning should I apply before cooking?
Three to five thin layers are sufficient for a new pan. Each layer should be wiped nearly dry before baking at 450°F for one hour. After the final layer, the pan should look dark with a slight sheen, not glossy. Additional layers add marginal benefit and increase the risk of flaking if applied too thickly. Start cooking after four layers and let daily use build the rest.