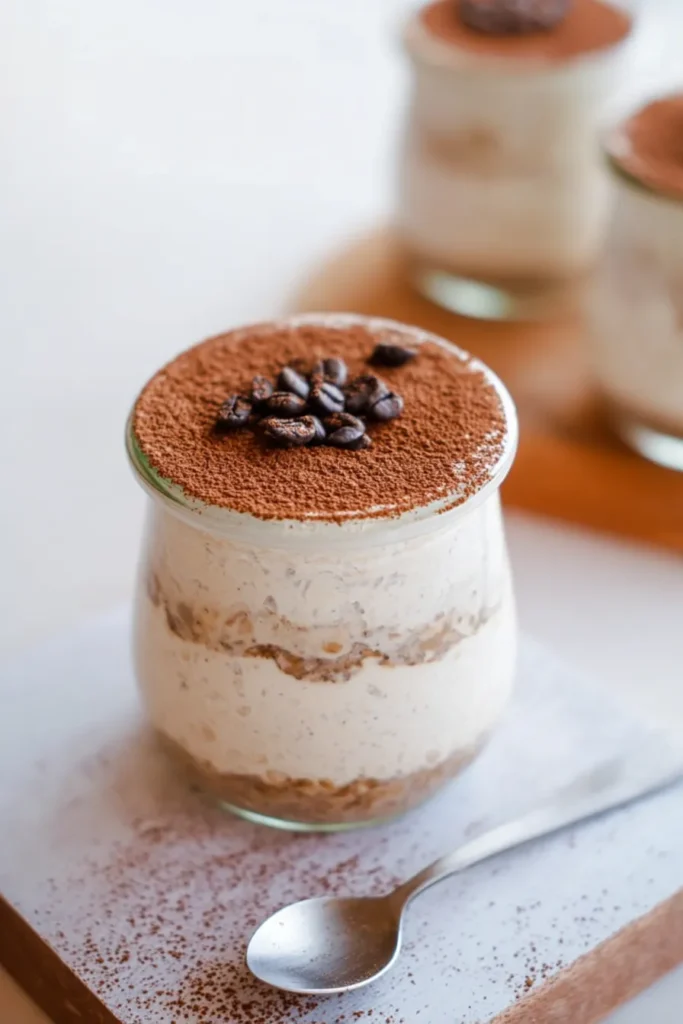
The Magic of Tiramisu Overnight Oats
Let’s be honest. Most mornings feel like a race against the clock. You grab whatever’s fastest, eat it standing over the sink, and call it breakfast. But what if your morning meal actually felt special?
That’s exactly what we’re doing today.
We’re taking tiramisu, that rich, creamy Italian dessert you usually save for special dinners, and turning it into breakfast. And the best part? You don’t cook a single thing.
So how does it actually work?
Here’s the simple science. When raw oats sit in cold liquid overnight, the starches slowly break down. They soak up the liquid like a little sponge. By morning, you’ve got a thick, creamy, pudding-like texture. No stove. No stirring. No standing in the kitchen half-asleep.
I love meals that do the work for you.
The name tiramisu literally means “pick me up” in Italian. Pretty perfect for a morning meal, right? The flavor profile we’re building here hits all the right notes:
- Bold, roasted coffee
- Gentle sweetness
- Cool, tangy creaminess on top
- A dry, bitter cocoa finish
Getting that balance right is what makes this dish sing. The coffee should be strong enough to feel it. But it shouldn’t bulldoze the creamy layer on top.
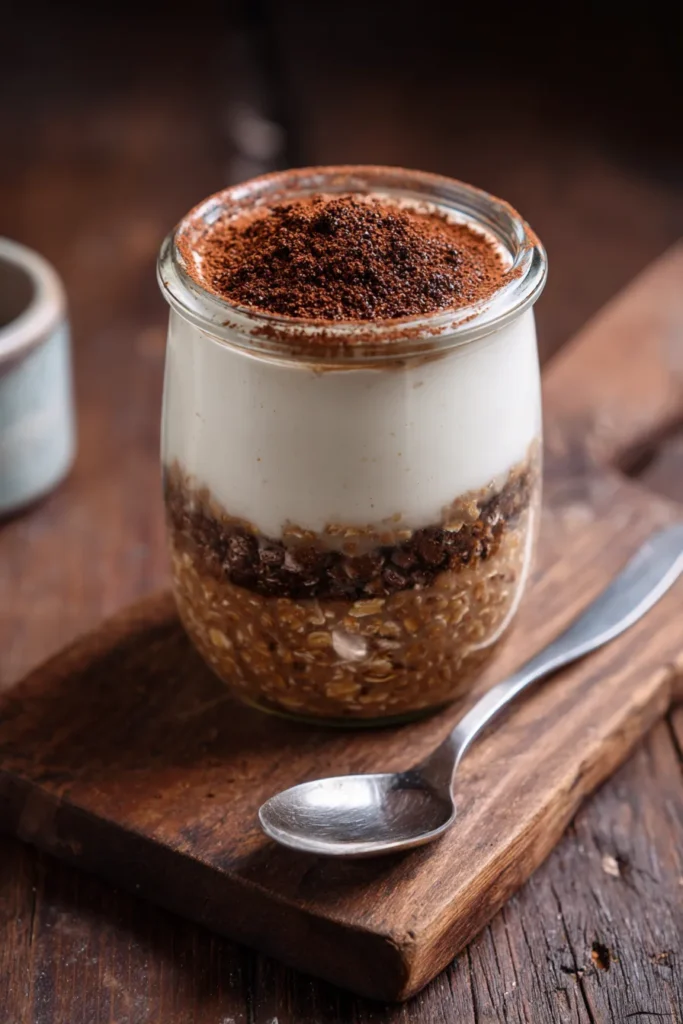
Here’s a quick breakdown of how each layer does its job:
| Component Layer | What It Does | What You Taste |
|---|---|---|
| The Base Structure | Gives the dish its body and substance | Thick, chewy, satisfying |
| The Flavor Core | Infuses everything with deep coffee notes | Bold, earthy, slightly bitter |
| The Creamy Crown | Mimics traditional mascarpone | Cool, rich, gently tangy |
| The Finishing Touch | Balances the sweetness | Powdery, dark chocolate aroma |
You’re not just dumping stuff into a jar. You’re building something layered and intentional. And honestly? It’s easier than it sounds.
One thing I always stress: use fresh, good-quality coffee. Stale coffee granules will make the whole thing taste sour and flat. Fresh ingredients make a real difference here.
Chef Techniques and The Preparation Journey
Let’s talk technique. Because even a no-cook recipe has its tricks.
First, I always recommend using a clear glass mason jar. It sounds small, but seeing those beautiful layers actually makes the meal taste better. It builds anticipation. You look forward to eating it before you even pick up a spoon.
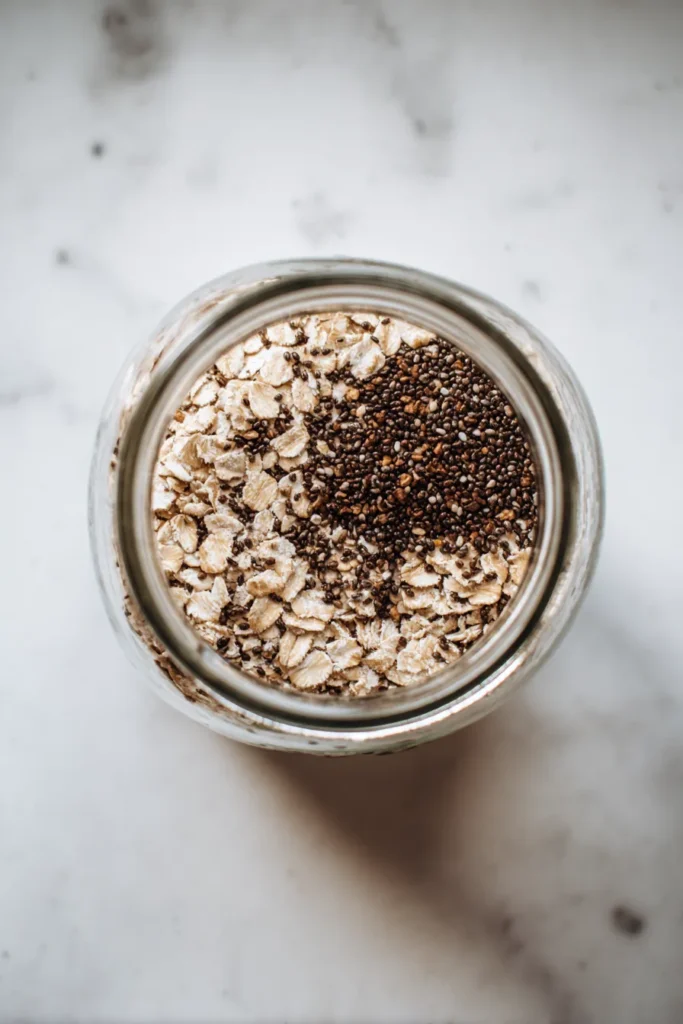
Start with your dry ingredients.
Whisk them together first before adding any liquid. This is one of those steps that seems fussy but really matters. If you skip it, you’ll end up with pockets of dry coffee powder hiding at the bottom. Nobody wants to bite into a bitter, dry clump first thing in the morning.
Once your dry base is mixed, pour in your chilled liquids. Then comes the most important step of the whole process.
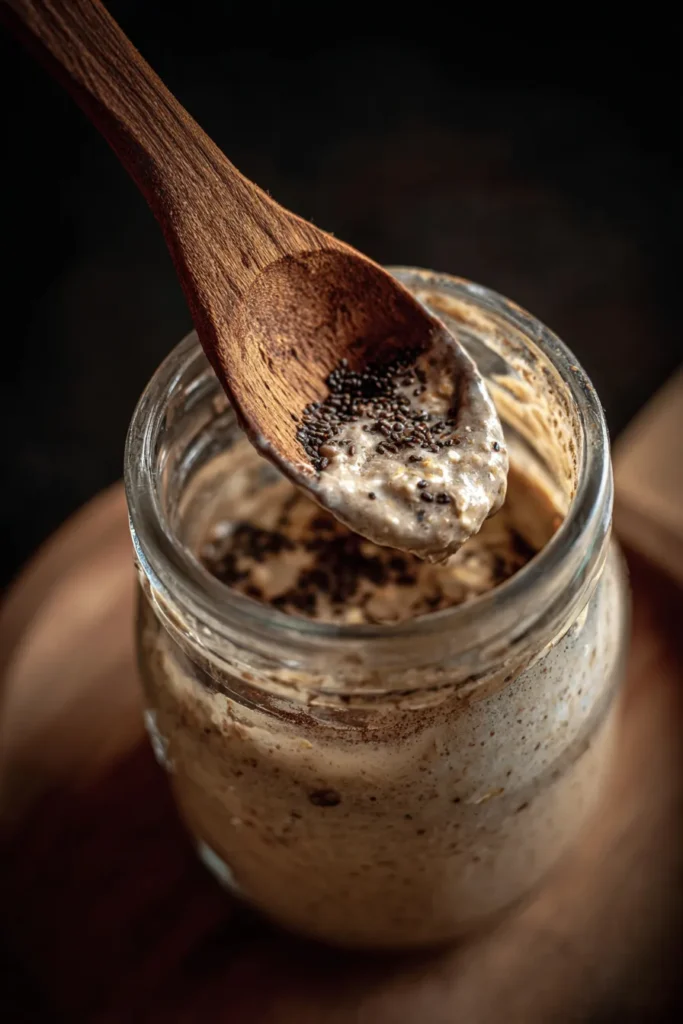
Stir it properly.
I mean really stir it. Reach all the way to the bottom corners of the jar. Dry ingredients love to hide down there. Scrape those edges. Make sure everything is fully hydrated.
Then, here’s a little trick I swear by:
- Don’t put the lid on yet
- Let the jar sit on the counter for 5 minutes
- After 5 minutes, give it one more vigorous stir
- Then seal and refrigerate
That double-stir method makes a big difference. You’ll notice the mixture already starting to thicken after just those few minutes. It guarantees a smooth, even texture by morning.
Now seal the jar and let the fridge do its thing. Give it at least 4 hours. Overnight is better. The flavors meld together in the cold and the texture gets deeper and richer.
Patience is your friend here.
The Morning Finish
When you wake up, the hard work is already done. You open the fridge to find a thick, set, gorgeous pudding base waiting for you.
But we’re not quite finished.
Spoon your creamy topping over the cold base. Use the back of a metal spoon to smooth it into a flat, even layer. Think of it as your canvas.

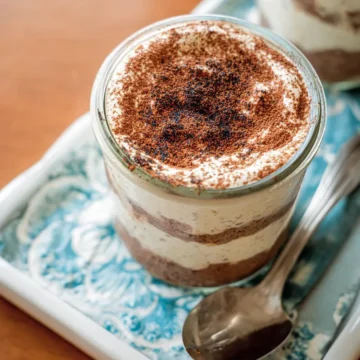
Now for the finishing touch. Grab a small fine-mesh sieve, add your cocoa powder, and hold it over the jar. Tap the side gently a few times. A light, even dusting of dark chocolate will fall across the surface like snow.
That’s what takes it from “breakfast” to breakfast.
Frequently Asked Questions
Can I eat this warm instead of cold?
Yes, and it’s actually really good that way. Keep your creamy topping in the fridge separately. Microwave the oat base for about 60 seconds, stir well, then spoon the cold cream on top right before eating. Warm base, cold crown. Fantastic contrast.
What if it’s too thick in the morning?
Super common. Different oat brands absorb liquid differently. If yours turns out like concrete, don’t panic. Just splash in a little cold milk or water and stir. Done. You’ll reach your perfect consistency in seconds.
Can I prep a few jars at once?
Absolutely. This is one of the best meal prep breakfasts out there. Line up four or five jars on a Sunday evening. They’ll stay fresh in the fridge all week. Just one thing: wait until the actual morning to add the cocoa dusting. That way it stays dry, fresh, and looks perfect every time.
What if the coffee flavor is too strong for me?
Easy fix. Use half the amount of coffee next time. You can also add a little extra vanilla extract to soften and sweeten the overall flavor. This recipe is flexible. Adjust it to your taste. That’s the whole point.
What container should I use?
Wide-mouth glass jars. Every time. Plastic can hold onto old smells and subtly affect the flavor. Glass doesn’t. It’s also way easier to stir and eat from a wide-mouth jar. Once you switch to glass, you won’t go back.
One Last Thing
Breakfast doesn’t have to be boring or stressful. It can be the moment in your day that actually feels good. The moment where you thought ahead, took care of yourself, and get to enjoy something genuinely delicious.
This recipe does all of that. Make it once and you’ll see exactly what I mean. I hope you love every single creamy, coffee-soaked bite.
Tiramisu Overnight Oats
Ingredients
Oat Base
- 1/2 cup rolled oats raw
- 1 tsp fresh coffee granules adjust amount to taste
- 1/2 cup cold liquid milk or water
- 1/2 tsp vanilla extract optional, to sweeten and soften flavor
Toppings
- 2 tbsp creamy topping mascarpone or yogurt
- 1 tsp cocoa powder for dusting
Instructions
- In a clear, wide-mouth glass mason jar, start with your dry ingredients. Whisk them together to prevent pockets of dry coffee powder at the bottom.
- Pour in your chilled liquid and vanilla extract. Stir it properly, reaching all the way to the bottom corners of the jar to ensure everything is fully hydrated.
- Do not put the lid on yet. Let the jar sit on the counter for 5 minutes to begin thickening.
- After 5 minutes, give it one more vigorous stir to guarantee a smooth, even texture. Seal the jar and refrigerate for at least 4 hours, or ideally overnight.
- In the morning, spoon your creamy topping over the cold, set oat base. Use the back of a metal spoon to smooth it into a flat layer.
- Using a small fine-mesh sieve, gently tap cocoa powder over the top to create a light, even dusting across the surface before serving.