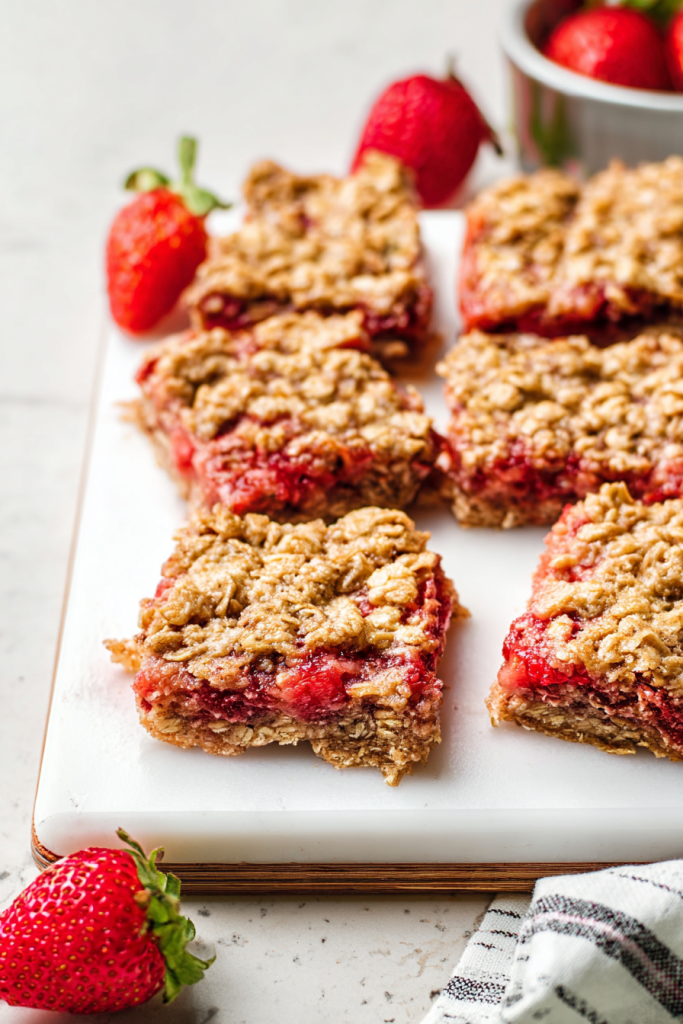
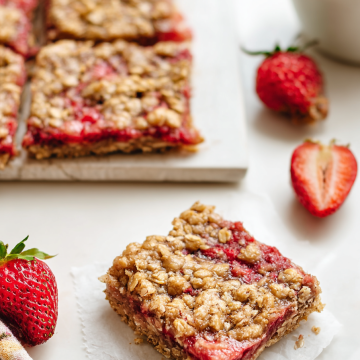
There’s something magical about biting into a perfectly crafted strawberry oatmeal bar. The sweet-tart burst of fresh strawberries mingles with the hearty crunch of oats. I’ve been perfecting this healthy strawberry oatmeal bars recipe for years. Each bite delivers that ideal balance of flavors and textures.
Summer strawberry season brings endless possibilities for delicious treats. These gluten-free strawberry oatmeal bars have become my go-to dessert. They’re wholesome enough for breakfast yet indulgent enough for dessert. The natural sweetness from maple syrup and fresh strawberries means less refined sugar.
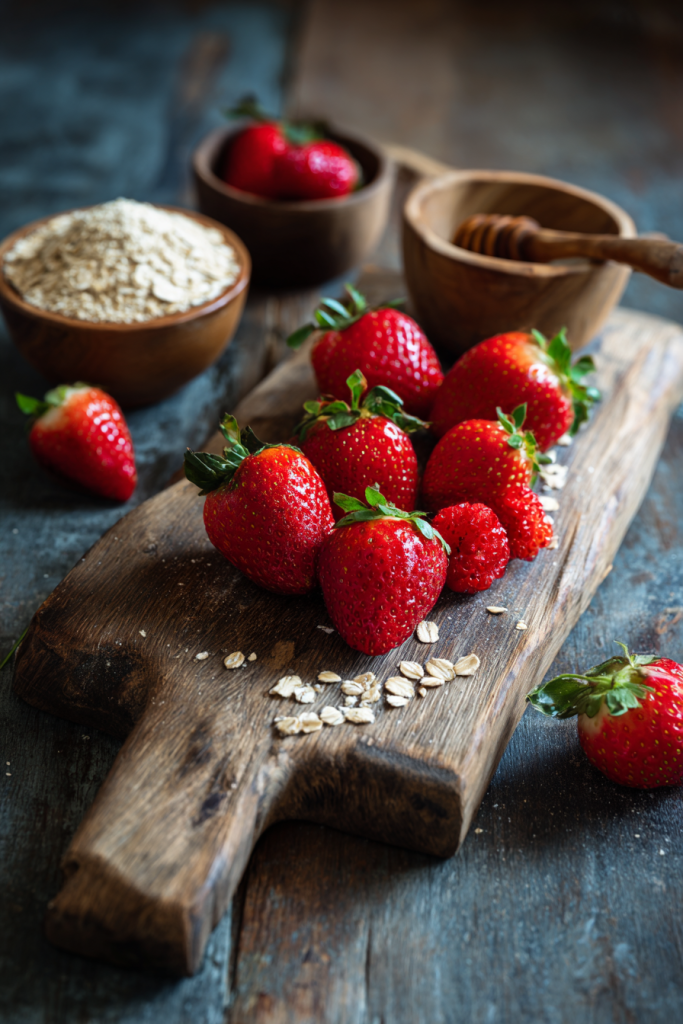
I first discovered this recipe during a particularly abundant strawberry harvest. My local farmer’s market overflowed with ruby-red berries begging to be transformed. Traditional oatmeal bars often rely on processed ingredients and artificial flavors. I wanted something cleaner and more nourishing.
The beauty of these bars lies in their simplicity. Fresh strawberries create a jammy filling that’s naturally sweet and vibrant. Almond flour adds protein and creates a tender crumb. Gluten-free oats provide that satisfying chewiness we all crave. Dark brown sugar brings caramel notes that complement the fruit perfectly.
What sets these bars apart from store-bought versions is the fresh lemon juice and zest. This citrus addition brightens the entire dessert and prevents the strawberries from becoming overly sweet. The natural pectin in strawberries works with the arrowroot starch to create the perfect jammy consistency.
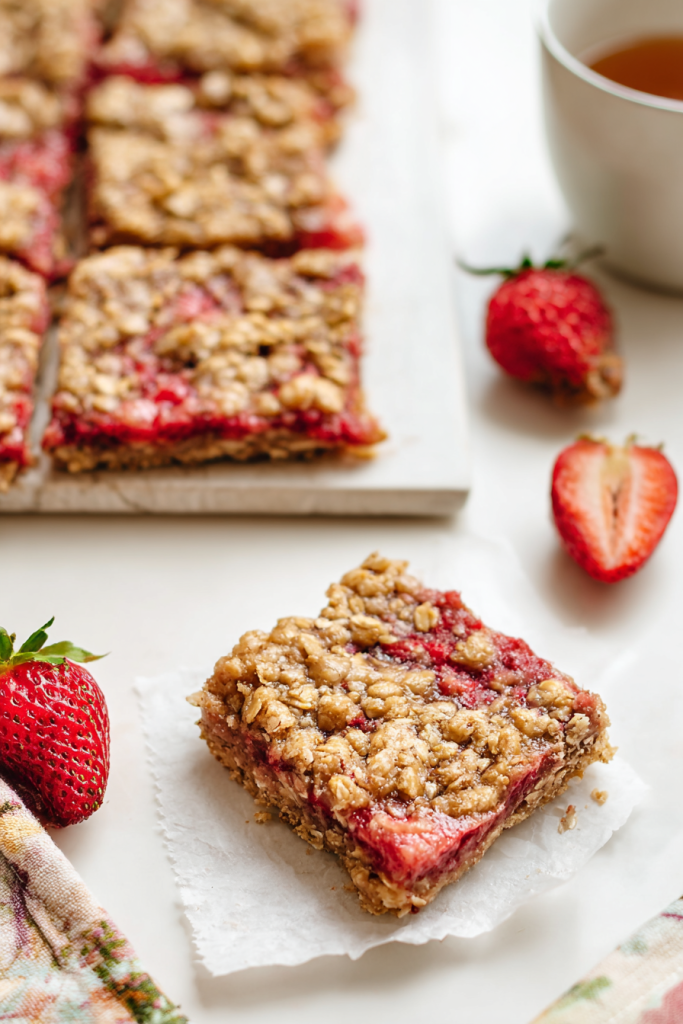
I love serving these bars slightly warm with a dollop of Greek yogurt. They’re equally delicious at room temperature or chilled from the refrigerator. The versatility makes them perfect for picnics, potlucks, or quiet afternoons at home.
Recipe Timing:
- Prep Time: 20 minutes
- Cook Time: 40-45 minutes
- Total Time: 1 hour 5 minutes
- Servings: 12 bars
- Difficulty: Easy
The process couldn’t be more straightforward. You’ll make a simple oat crust, prepare the strawberry filling, and assemble everything together. No special equipment required beyond a standard baking pan and mixing bowls.
These bars store beautifully for several days in the refrigerator. They actually improve in flavor as the components meld together. I often make a double batch because they disappear quickly in my household.
Whether you’re managing dietary restrictions or simply seeking healthier desserts, these bars deliver. They’re naturally gluten-free when made with certified oats. The recipe easily adapts to vegan preferences by swapping coconut oil for butter.
Ingredients, Instructions, and Tips
Ingredients
| Ingredient | Quantity | Notes |
|---|---|---|
| Gluten-free rolled oats | 1 1/2 cups | Certified gluten-free preferred |
| Almond flour | 1 cup | Fine ground works best |
| Dark brown sugar | 2/3 cup | Packed measurement |
| Unsalted butter | 1/2 cup | Diced, room temperature |
| Fresh strawberries | 3 cups | Chopped into small pieces |
| Pure maple syrup | 1/4 cup | Grade A preferred |
| Vanilla extract | 1 teaspoon | Pure extract recommended |
| Fresh lemon | 1 whole | Both juice and zest needed |
| Arrowroot starch | 1 tablespoon | Cornstarch works as substitute |
Instructions
Step 1: Prepare the Crust Preheat your oven to 350°F and line an 8×8 inch baking pan with parchment paper. Combine oats, almond flour, and brown sugar in a large mixing bowl. Add diced butter and work it into the dry ingredients using your hands. The mixture should resemble coarse crumbs and hold together when squeezed.
Press two-thirds of this mixture firmly into your prepared pan. Create an even layer that extends slightly up the sides. Bake for 15 minutes until lightly golden. Remove and set aside while preparing the filling.
Step 2: Make the Strawberry Filling
Combine chopped strawberries, maple syrup, vanilla extract, and lemon zest in a medium saucepan. Cook over medium-high heat, stirring occasionally, for 10-12 minutes. The strawberries will release their juices and begin to break down.
When the mixture reaches a deep red color and jammy consistency, remove from heat. In a small bowl, whisk together lemon juice and arrowroot starch until smooth. Pour this slurry into the hot strawberry mixture and stir immediately. The filling will thicken within moments.
Step 3: Assemble and Bake Pour the strawberry filling over the pre-baked crust, spreading it evenly with a spatula. Sprinkle the remaining oat mixture over the top, creating an even layer of crumb topping.
Return to the oven for 25-30 minutes. The bars are done when the filling bubbles around the edges and the topping turns golden brown. A slight jiggle in the center is normal and will set as it cools.
Step 4: Cool and Serve This step requires patience but is crucial for clean slices. Allow the bars to cool completely in the pan, about 2 hours at room temperature. For firmer bars, refrigerate for 30 minutes before cutting.
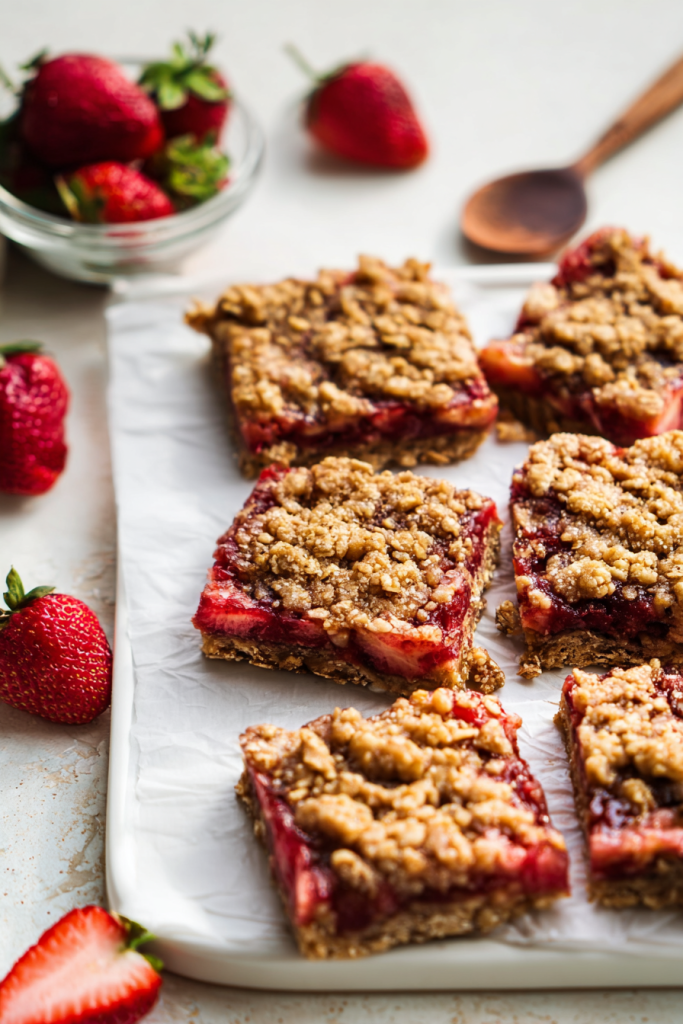
Use a sharp knife to cut into 12 squares. Clean the blade between cuts for the neatest presentation.
Pro Tips for Perfect Bars
Use parchment paper overhang for easy removal from the pan. Leave extra paper hanging over the sides to lift the entire batch out before cutting.
Don’t skip the lemon – it prevents the strawberries from being cloying and adds bright flavor that complements the oats perfectly.
Press the bottom crust firmly to prevent crumbling when you cut the bars. I use the bottom of a measuring cup for even pressure.
Let them cool completely before cutting. I know it’s tempting, but warm bars will fall apart. The filling needs time to set properly.
Store in the refrigerator for up to one week in an airtight container. They’re actually delicious served chilled and hold their shape better.
The natural sweetness level can be adjusted by choosing strawberries at different ripeness stages. Very ripe berries need less maple syrup, while slightly tart berries might benefit from an extra tablespoon.
Variations, Storage, and FAQs
Recipe Variations and Substitutions
These strawberry oatmeal bars adapt beautifully to different dietary needs and flavor preferences. I’ve experimented with numerous variations over the years.
Seasonal Fruit Swaps: Replace strawberries with fresh blueberries, raspberries, or blackberries using the same proportions. Stone fruits like peaches or apricots work wonderfully too. Adjust the cooking time based on the fruit’s natural water content.
Dairy-Free Version: Substitute coconut oil for butter, ensuring it’s at room temperature and slightly solid. The bars will have a subtle coconut flavor that pairs beautifully with strawberries.
Nut-Free Option: Replace almond flour with oat flour or a gluten-free flour blend. The texture will be slightly different but equally delicious.
Storage and Make-Ahead Tips
Store finished bars in an airtight container in the refrigerator for up to one week. They maintain their texture and flavor beautifully when properly stored. For longer storage, wrap individual bars in plastic wrap and freeze for up to three months.
These bars actually improve in flavor after the first day. The components meld together creating an even more cohesive taste. I often make them a day ahead for special occasions.
Room temperature storage works for 2-3 days in cool weather, but refrigeration is recommended for food safety and optimal texture retention.
Frequently Asked Questions
Can I use frozen strawberries instead of fresh? Absolutely! Thaw frozen strawberries completely and drain excess liquid before cooking. You might need an extra teaspoon of arrowroot starch to achieve the proper thickness. The flavor remains excellent, though fresh berries provide slightly better texture.
What if I don’t have arrowroot starch? Cornstarch works perfectly as a substitute using the same amount. Both create the necessary thickening for the strawberry filling. In a pinch, you can omit it entirely, though the filling will be slightly more liquid.
Can I make these bars gluten-free? They’re naturally gluten-free when made with certified gluten-free oats. Always check your oat packaging to ensure they haven’t been processed in facilities with wheat products if celiac disease is a concern.
How do I know when the bars are properly done? Look for golden-brown edges on the crumb topping and bubbling around the filling’s perimeter. The center should still have a slight jiggle that will set during cooling. Overbaking creates a tough texture.
Can I double this recipe? Yes! Use a 9×13 inch pan and increase the baking time by 5-10 minutes. Watch for the same visual cues to determine doneness. The larger pan creates thinner bars that bake more quickly.
What’s the best way to get clean cuts? Use a sharp knife and clean it between cuts. Chilling the bars for 30 minutes before cutting helps tremendously. Running the knife under warm water and drying it between cuts also helps.
These healthy strawberry oatmeal bars represent everything I love about homemade desserts. They’re wholesome, delicious, and bring people together around the table. I hope this recipe becomes a favorite in your kitchen too!
Healthy Strawberry Oatmeal Bars
Ingredients
- 1 1/2 cups gluten-free rolled oats certified gluten-free preferred
- 1 cup almond flour fine ground works best
- 2/3 cup dark brown sugar packed
- 1/2 cup unsalted butter diced, room temperature; use coconut oil for dairy-free
- 3 cups fresh strawberries chopped into small pieces
- 1/4 cup pure maple syrup Grade A preferred
- 1 teaspoon vanilla extract pure recommended
- 1 whole fresh lemon zest and juice separated
- 1 tablespoon arrowroot starch or cornstarch
Instructions
- Step 1: Prepare the Crust
- Preheat oven to 350°F (175°C). Line an 8×8-inch baking pan with parchment paper, leaving overhang.
- In a large mixing bowl, combine oats, almond flour, and dark brown sugar.
- Add diced butter and work into the mixture with your hands until it resembles coarse crumbs and holds together when pressed.
- Press two-thirds of the mixture into the pan, pressing firmly to form an even crust.
- Bake for 15 minutes or until lightly golden. Remove and set aside.
- Step 2: Make the Strawberry Filling
- In a medium saucepan, combine chopped strawberries, maple syrup, vanilla extract, and lemon zest.
- Cook over medium-high heat for 10–12 minutes, stirring occasionally, until the mixture becomes thick and jammy.
- In a small bowl, whisk lemon juice with arrowroot starch until smooth.
- Stir the slurry into the hot strawberry mixture and remove from heat. It will thicken quickly.
- Step 3: Assemble and Bake
- Spread the strawberry filling evenly over the pre-baked crust.
- Crumble the remaining oat mixture over the top.
- Bake for 25–30 minutes, until the top is golden and the filling bubbles at the edges.
- Cool completely in the pan for at least 2 hours. For cleaner cuts, refrigerate for 30 minutes before slicing.
- Step 4: Serve
- Cut into 12 bars using a sharp knife. Clean between cuts for neat slices.
- Serve slightly warm, room temperature, or chilled with a dollop of Greek yogurt if desired.