More bread knives now differ in small design details rather than simply being long serrated blades. Those details matter most after repeated slicing, when a handle that twists or crowds the wrist can turn a simple loaf into a tiring job. This bread knife buying guide starts with the key distinction between serration shape and cutting feel: pointed teeth tend to bite aggressively into hard crust, while scalloped edges can produce a smoother cutting action on softer bread. A useful guide also separates edge sharpness from edge geometry, because a serrated knife can still cut effectively when its teeth are not honed like a plain-edged kitchen knife.
Key Takeaways
- Choose serration shape according to crust texture and the pressure needed at the handle.
- A bread knife should saw through crust rather than force the blade downward.
- Handle shape, tang, blade junction, and hand clearance affect wrist comfort during long slices.
- Protect serrated teeth with careful washing, a suitable board, safe storage, and specialist sharpening.
Beginner: Understand What a Bread Knife Is Doing
How serrations cut without crushing a loaf
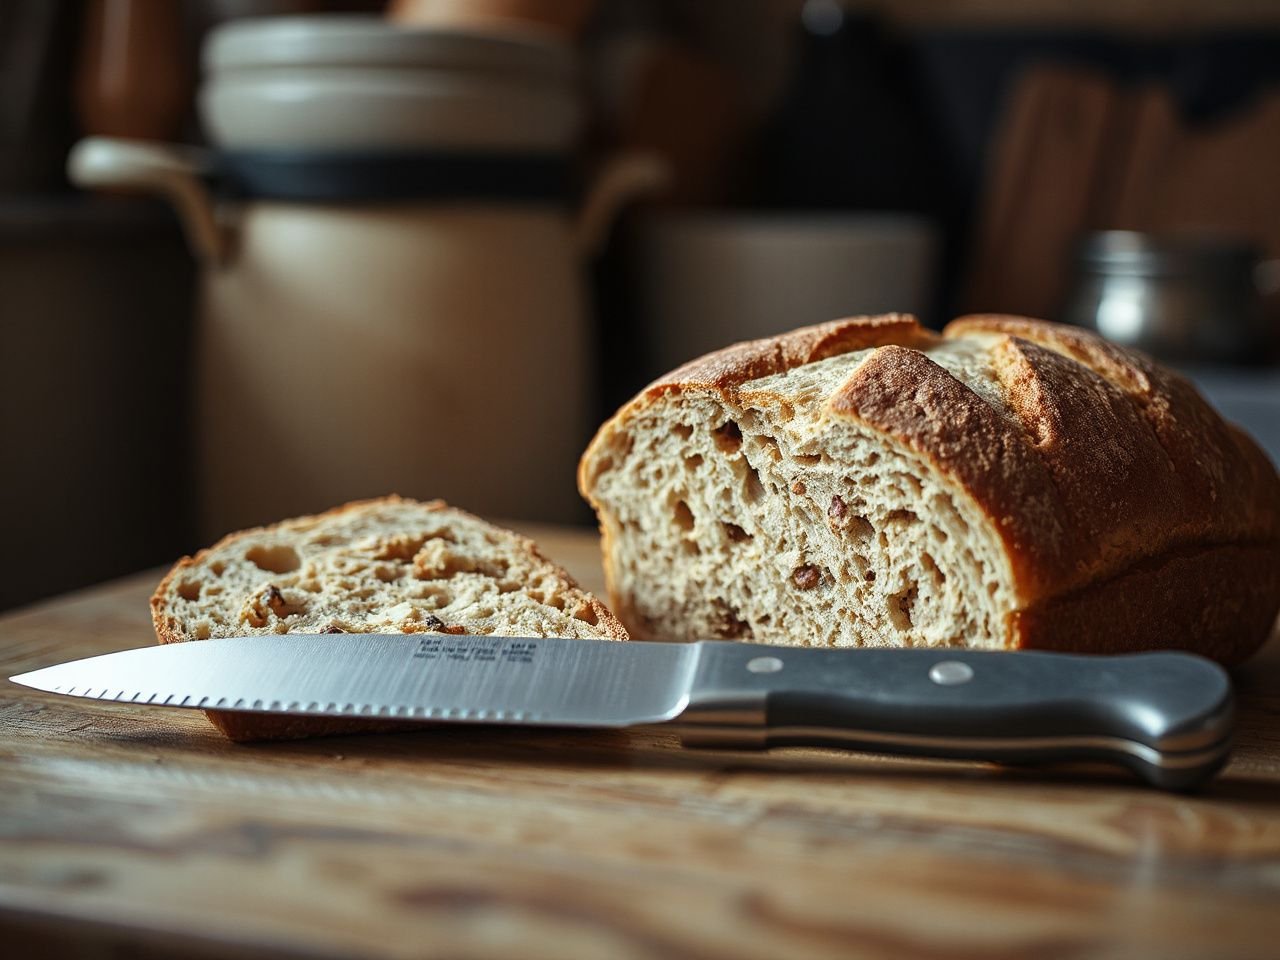
A serrated bread knife cuts by catching the crust with individual teeth and moving across the loaf in a controlled sawing motion. The teeth create small points of contact, so the hand does not need to press the entire edge through the crust at once. That is why downward force is usually the wrong technique.
A bread knife normally works best with a long, steady stroke that lets the serrations do the cutting work. Keep the loaf stable on a cutting board, guide the blade with a relaxed grip, and allow the knife to travel through the crumb instead of repeatedly stabbing downward. The visible sign of good technique is a slice with a relatively even face and crumbs that have not been heavily compressed.
Serrations do the cutting work by catching the crust, so a bread knife is normally used with a controlled sawing motion rather than downward pressure. Pressing hard can flatten soft bread before the teeth reach the interior, while a hurried short stroke can drag the crust and tear the slice.
Pointed and scalloped serrations
Pointed serrations have distinct teeth that can engage a firm, thick crust decisively. They suit loaves with a pronounced outer shell, but that aggressive bite also demands a calm hand: a tooth can catch suddenly if the loaf shifts or the stroke changes direction.
Scalloped serrations form rounded dips and rises rather than a row of sharply projecting points. Their contact with soft bread can feel smoother because the edge does not catch in quite the same abrupt way. The useful choice depends on the loaf, not on a claim that one shape is universally superior.
- Hard, crusty artisan loaves: Look for teeth that engage the crust clearly and a handle that gives the wrist room to keep the stroke level.
- Soft sandwich bread: Scalloped serrations may produce a gentler cutting action, especially when the loaf compresses easily.
- Mixed household use: Prioritise a predictable handle and a serration pattern that does not require heavy pressure on either loaf type.
Serration shape changes cutting feel, while blade geometry determines how the knife meets the bread. A sharp-looking tooth is not the same thing as a plain knife edge that can be honed across a flat stone.
Blade length and the shape of the loaf
For a bread knife, a useful general length range is 8 to 10 inches. The blade should span the loaf with enough room for a continuous stroke, but extra length does not automatically improve control. A long blade can feel awkward if the handle forces the wrist to reach or rotate.
The serrated blade on the Mercer Culinary bread knife described in the available product information measures 10 inches, and its handle is positioned away from the cutting edge. Those features illustrate two selection points rather than a recommendation: usable reach and hand clearance should be judged together.
A blade that is too short may make the user saw repeatedly through the same section of crust. A blade that is too long can exaggerate unwanted movement if the grip is poorly aligned with the stroke. Set the knife beside the loaf, check where the hand sits, and think about whether the wrist can remain straight as the blade travels.
Beginner: Judge the Handle Before the Edge
Why wrist comfort belongs in the decision
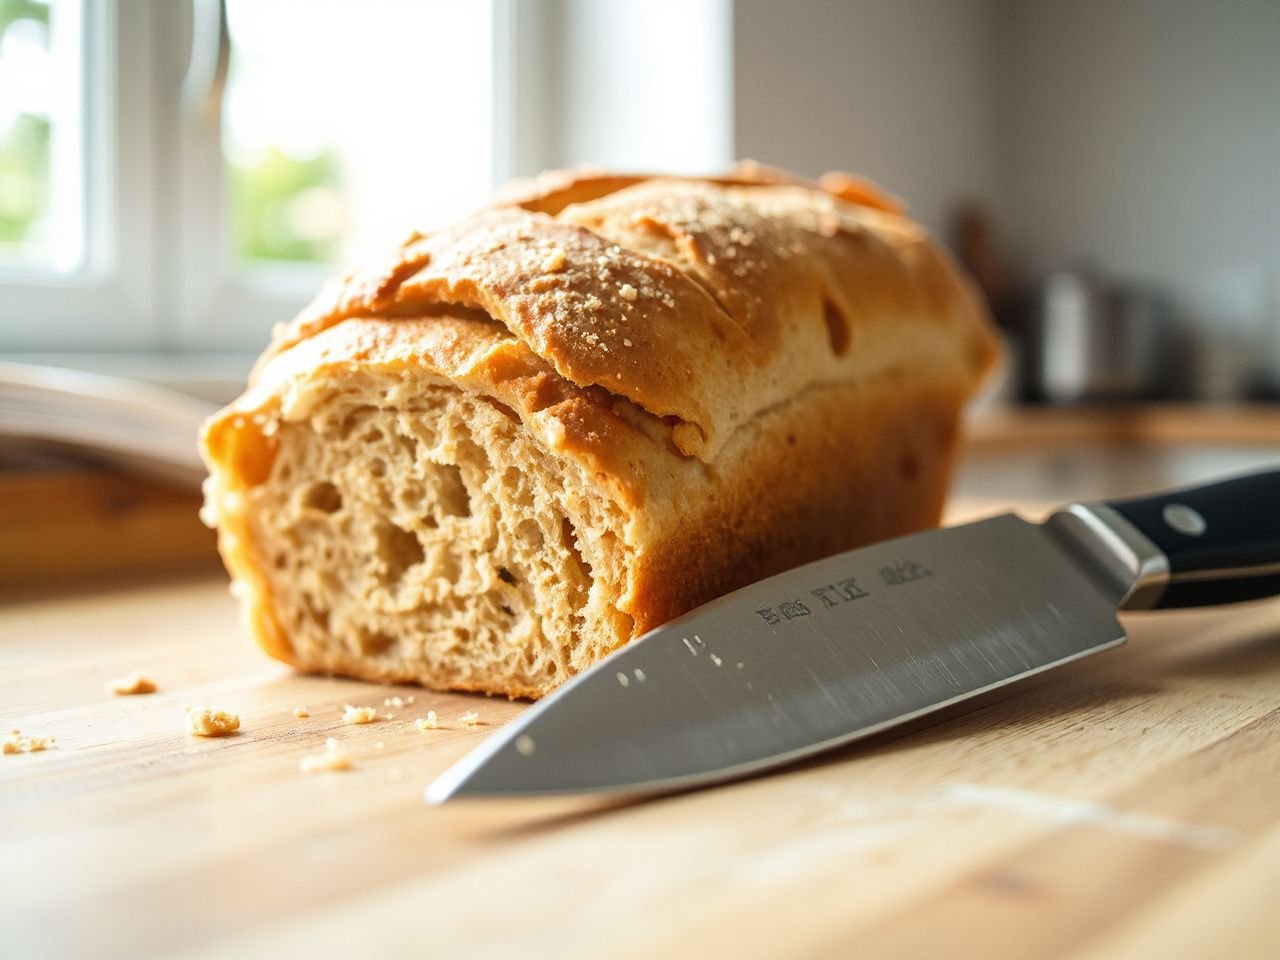
I judge a bread knife handle by what it asks the wrist to do after many slices, not by how substantial it feels in the hand for a few seconds. A grip that is too narrow may encourage squeezing. One that is too bulky can keep the fingers from adjusting naturally as the blade moves through a tall loaf.
The handle, tang, and blade junction affect control and hand clearance, especially around large or tall loaves. Check whether the grip lets the thumb and fingers sit clear of the serrated edge, whether the junction creates an abrupt pressure point, and whether the wrist can stay close to neutral during a level sawing motion.
A handle that keeps the wrist aligned can reduce unnecessary twisting during repeated bread slices. That is a design observation the hand can check directly, without trusting a label.
Offset handles: useful clearance with a trade-off
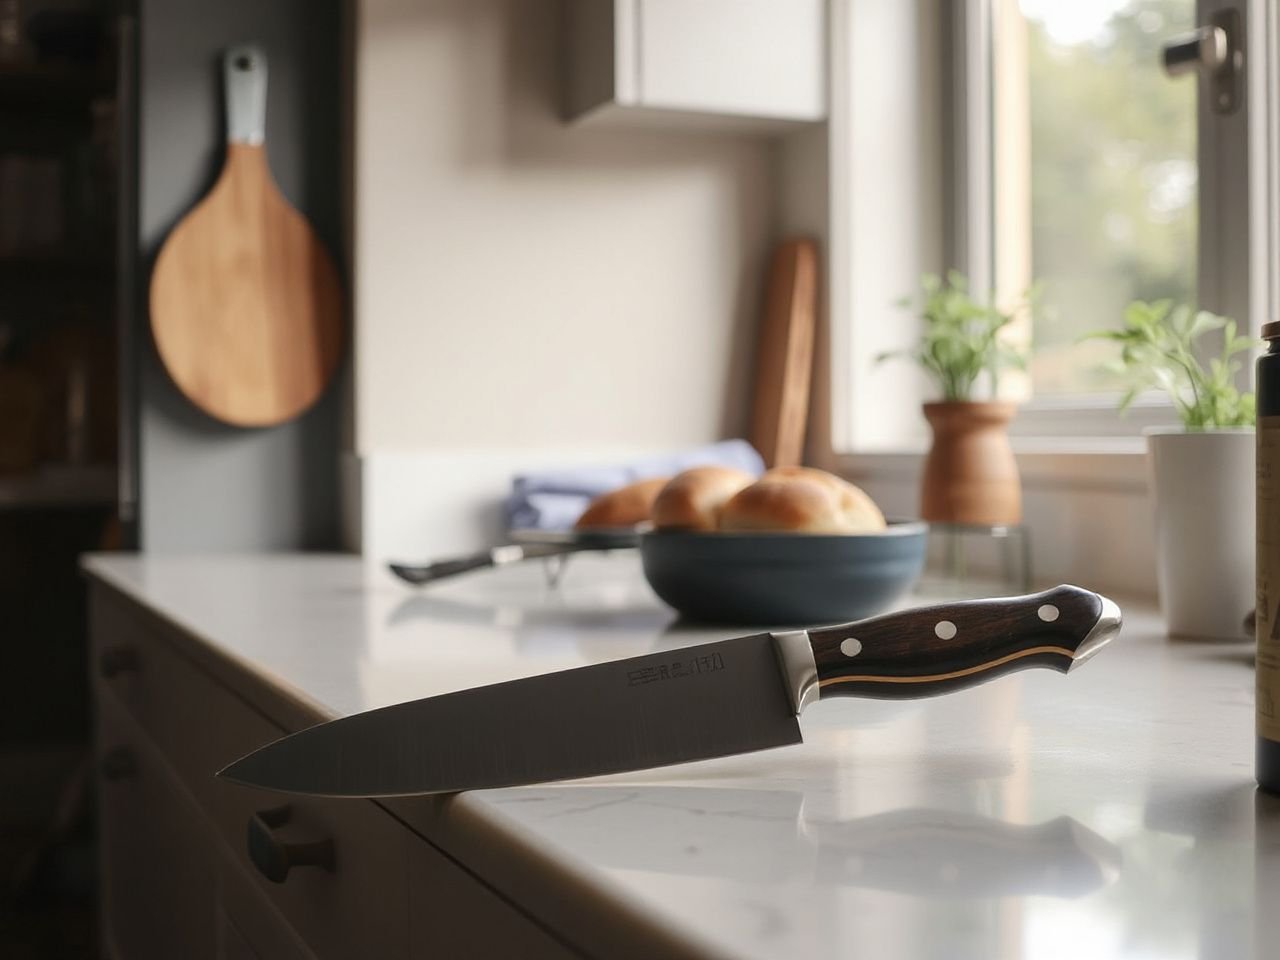
An offset handle places the grip away from the cutting edge. The extra clearance can help the knuckles avoid the board and may make it easier to cut a tall loaf without bending the wrist sharply downward.
The same arrangement can change the knife’s balance and the angle at which the teeth meet the crust. Some people may find that a raised handle encourages a more level stroke; others may need time to control the altered position. Hold the knife in a safe, unloaded way and inspect whether the grip points naturally toward the loaf or makes the hand rotate.
Full tang and the handle junction
A full tang extends the blade material through the handle and can create a continuous structural connection between grip and blade. For bread slicing, the practical question is control: does the junction feel stable, and does the handle keep the hand clear of the teeth?
Do not treat the tang alone as proof of comfort. A rigid connection can still meet a poorly shaped handle, and a visually simple handle can still offer a useful grip. Look at the transition from blade to handle, where the index finger rests, and whether the palm contacts a sharp corner during a long stroke.
Flexibility and rigidity
A flexible blade can follow the contour of a loaf, but too much movement may let the blade wander through a large loaf. A rigid blade can track a straighter path, yet it may require more force around an uneven crust because it does not adapt as readily to changes in the surface.
Flex is therefore a control choice, not a simple quality grade. For broad, tall loaves, I favour a blade that feels stable enough to keep its course while retaining enough give to avoid forcing the wrist around a rough crust. The reader can inspect this without a technical test: hold the knife safely, support the blade only as the manufacturer permits, and notice whether it returns to alignment easily rather than wobbling unpredictably.
A blade that is too flexible can wander through a large loaf, while a blade that is too rigid can require more force around uneven crusts. The right balance depends on loaf shape, crust structure, and the user’s ability to keep a steady stroke.
Intermediate: Match Blade Material and Serration to Use
Stainless steel and carbon steel
Stainless steel resists corrosion and rust, which is useful for a tool exposed to moisture, crumbs, and routine washing. It still needs drying, because resistance to rust is not a reason to leave a knife wet or dirty.
High-carbon steel is associated with strong edge retention and exceptional sharpness. Those qualities may appeal to a cook who values a keen cutting surface, but the care instructions matter. Read the maker’s guidance for the specific blade and dry it promptly after washing.
Stainless steel resists corrosion, but a serrated bread knife still benefits from prompt drying after washing. Material names should guide care expectations, not replace them.
Separating sharpness from edge geometry
A serrated knife does not need a continuously honed edge to work. The teeth and the spaces between them create the cutting geometry, and the points can grip crust even when the side surfaces are not maintained like a chef’s knife.
That distinction explains why a bread knife can remain useful while feeling different from a plain-edged knife. Sharpness describes how readily a cutting surface engages material. Geometry describes the arrangement of teeth, valleys, and contact points. Both affect the slice, but they are not interchangeable.
A chef’s knife is built for a broad range of prep tasks and a rocking or pushing action, while a serrated utility knife is generally more compact and suited to smaller foods. A bread knife gives the user a longer serrated edge for traversing a loaf. Using the wrong tool may force extra wrist movement or make the blade catch at an awkward angle.
Why bread tears instead of slicing cleanly
Tearing usually comes from a poor match between technique, serration, and bread texture. Pressing down can compress the crumb. A short, fast stroke can pull at the crust. A dull or damaged tooth may drag rather than catch cleanly.
Crumbs also reveal what is happening. A crushed cut face points toward excess pressure or a blade that is not moving freely. A ragged crust with a relatively intact interior suggests that the teeth are catching unevenly. Try stabilising the loaf, lengthening the stroke, and reducing pressure before deciding the knife itself has failed.
Protecting the edge and board
Repeated contact with hard cutting surfaces can damage serrated teeth. A stable cutting board gives the loaf a dependable base and reduces the chance that the knife will twist as the crust gives way.
Keep fingers away from the blade path, especially because serrations can catch unexpectedly when the loaf shifts. The hand holding the bread should remain positioned away from the line of travel, and the knife should be returned to a safe location rather than left beneath crumbs or inside a crowded sink.
The U.S. Consumer Product Safety Commission provides consumer product safety information, while NSF International publishes information about food equipment and sanitation. Those organisations are useful reference points for general safety and hygiene questions, but they do not replace the knife manufacturer’s care instructions.
Advanced: Sharpening, Cleaning, and Ownership Costs
Can a serrated bread knife be sharpened?
Serrated edges are difficult to sharpen with ordinary flat whetstones because a flat surface cannot follow each tooth and valley. A tapered serration sharpener can address individual grooves, but the process requires matching the sharpener to the edge geometry and avoiding removal of too much material.
Home sharpening makes more sense when the user can clearly identify the tooth shape and work slowly. If the teeth are bent, chipped, or uneven, specialist knife sharpening is the safer route for preserving the original geometry. A serrated knife that has become dull may tear bread because its teeth no longer engage the crust cleanly.
Ordinary flat whetstones are poorly suited to maintaining the individual grooves of a serrated bread knife. Do not rub a serrated edge flat against a stone in an attempt to sharpen it like a chef’s knife.
Cleaning without damaging the teeth
Brush loose crumbs away from the serrations before washing. Use the cleaning method stated by the manufacturer, keep fingers behind the dull side of the blade, and dry the knife thoroughly after cleaning.
A dishwasher can expose the knife to movement, contact with other utensils, and conditions that may affect the handle or edge. The manufacturer’s instructions decide whether that method is permitted. Even if washing is allowed, a protected hand-washing routine gives the teeth less opportunity to strike another object.
Store the knife so its serrations cannot rub against other blades or hard surfaces. A sheath, guarded drawer space, or suitable knife storage keeps the teeth from being knocked sideways. Magnetic storage can work only if the knife is placed and removed without dragging the edge across the holder.
Electric bread knives
An electric knife can provide repeated blade movement without the user supplying the full sawing action. That may appeal to someone who struggles with a manual stroke or regularly cuts large quantities of bread.
The trade-off is added equipment, noise, cord or battery management, and a different sense of control. The moving blade can catch if the loaf shifts, so stable placement and finger clearance remain important. An electric knife is not automatically gentler on bread; its result still depends on blade condition, loaf stability, and the operator’s guidance.
Long-term cost beyond the purchase price
The ownership cost of a bread knife includes care, storage, sharpening, replacement, and the likelihood of damage from unsuitable boards or crowded drawers. A knife that needs specialist sharpening may require more planning than one that is replaced when dull, while careless storage can shorten the useful life of either type.
Consider the bread you actually slice, the space available for safe storage, and whether you will maintain a serrated edge properly. A modest purchase can become expensive if the handle causes discomfort, the teeth are damaged by a hard board, or the knife is replaced because cleaning and storage were neglected.
If bread baking is part of a wider kitchen project, the bread oven buyer’s shortlist for baking equipment covers a separate decision from knife selection. For sourdough-focused kitchens, the sourdough bread oven overview may help with the baking side, but the knife still needs to match the finished crust and the user’s grip.
Advanced: A Practical Selection Process
Step 1: Start with the bread
Describe the loaves in plain terms. A thick, firm crust calls for teeth that engage decisively and a handle that keeps the wrist steady. Soft sandwich bread calls for a cutting action that does not compress the crumb, making scalloped serrations worth considering.
Do not choose by loaf name alone. Crust thickness, softness, loaf height, and how often the bread is sliced all change the demands placed on the blade and hand.
Step 2: Check reach and clearance
Use the general 8 to 10 inch range as a starting point, then compare the blade with the loaf and the cutting board. Check that the hand can stay clear of the board and that the full stroke does not require the elbow or wrist to twist.
An offset handle may improve clearance, but inspect the angle it creates. The useful question is whether the grip makes the stroke easier to guide, not whether the handle looks unusual.
Step 3: Inspect the grip and junction
- Hold the handle without squeezing and check whether the wrist stays aligned.
- Look for a blade-to-handle junction that does not press into the palm.
- Check that the fingers have clear space from the serrated edge.
- Notice whether the grip encourages a level stroke through a tall loaf.
A full tang may support a stable connection, but hand comfort still depends on the shape surrounding it. The wrist is the final judge of alignment.
Step 4: Plan maintenance before purchase
Read the care directions and decide how the knife will be washed, dried, stored, and sharpened. Serrated edges demand a different maintenance plan from plain edges, and hard surfaces can damage their teeth.
Choose a stable board, keep the knife away from loose utensils, and arrange storage before the first loaf is cut. Good storage prevents a common source of edge damage that no material label can correct.
Step 5: Use the knife correctly
Place the loaf securely on the board. Keep the guiding hand away from the blade path, begin with a controlled stroke, and let the teeth catch the crust. Maintain a steady rhythm rather than increasing pressure when resistance rises.
If the cut face looks compressed, reduce force and lengthen the stroke. If the crust tears, check whether the teeth are dragging, the loaf is moving, or the edge has been damaged. Those observations are more useful than judging the knife by a single visual feature.
A safe bread-slicing setup uses a stable board, clear finger placement, and a controlled sawing motion. The method protects the hand and gives the serrated blade the conditions it needs to work.
Frequently Asked Questions
What is the difference between pointed and scalloped serrations?
Pointed serrations tend to bite more aggressively into hard crust, while scalloped serrations can provide a smoother action on soft bread. Neither pattern is automatically right for every loaf. Match the teeth to the crust, then check whether the handle lets the wrist guide the blade without squeezing or twisting.
Is an offset handle useful, or does it make control harder?
An offset handle can increase hand clearance above the board and help the user keep a tall loaf away from the knuckles. The altered grip may also change balance and stroke angle. Control depends on whether the hand can stay relaxed and the wrist remains aligned. Mimic a slow sawing motion before choosing the design.
Can a bread knife be sharpened at home?
Yes, but serrated edges require a tool that follows the individual grooves. Ordinary flat whetstones are difficult to use correctly on this geometry. Work slowly only if the tooth pattern is clear and the teeth are intact. Bent or damaged teeth are better assessed by a sharpening service that can preserve the original shape.
How should a bread knife be cleaned and stored?
Remove crumbs, follow the manufacturer’s washing instructions, and dry the knife promptly. Keep the serrations from striking hard surfaces or rubbing against other blades. A protected drawer space, sheath, or suitable holder is preferable to leaving the knife loose in a sink. The Consumer Product Safety Commission offers general consumer safety information, while the manufacturer remains the authority for the knife’s care directions.
A bread knife buying guide should end with the hand, not the label. Choose serrations that suit the bread, a blade that stays controllable through the loaf, and a handle that does not make the wrist work harder than necessary. The best result is a clean slice produced by steady movement, sound storage, and care that preserves the teeth.