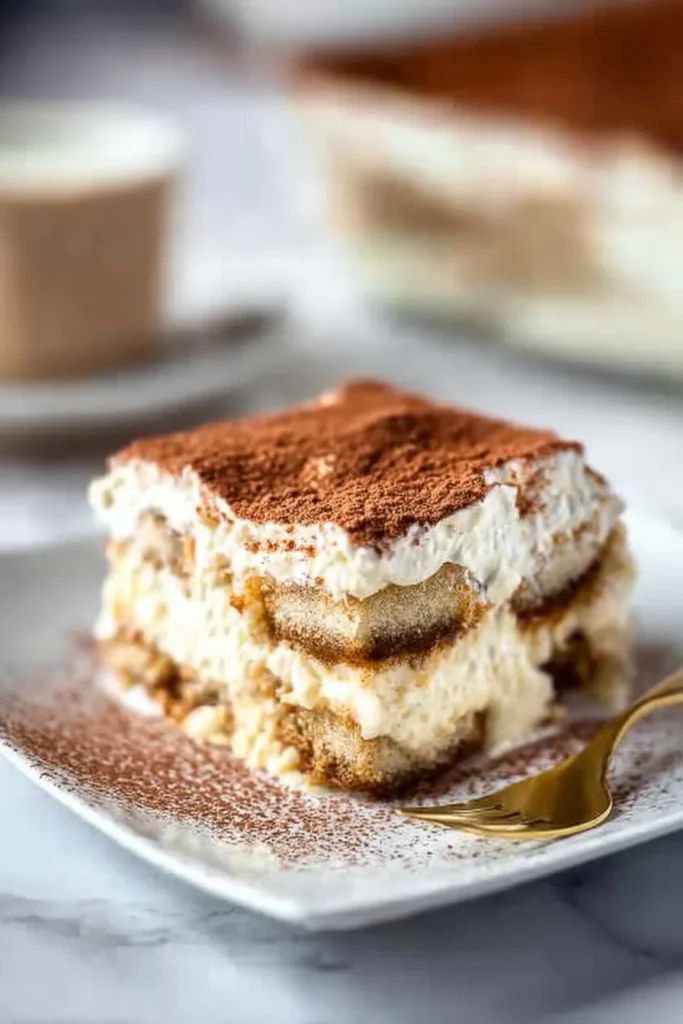
Welcome to my kitchen! I recently asked myself what dessert I could bring to a dinner party that looks fancy but takes zero effort. The answer? Tiramisu. I am thrilled to share my absolute favorite dessert with you today.
This easy tiramisu recipe tastes better from scratch. It is a fantastic no-bake treat. It always impresses guests. Everyone loves a rich, coffee-infused dessert after a nice meal. You can prepare it quickly. You never have to turn on your oven. It is the perfect solution for easy entertaining.
Why no-bake? Because turning on a hot oven feels like a chore. That is why I rely heavily on this specific treat. An easy tiramisu recipe saves you from a hot kitchen. It also saves you incredibly valuable preparation time.
Whipping this up after a long workday is easier than making a peanut butter sandwich. It is an ideal weekend culinary project for absolute beginners. Even children can help with the fun assembly process. Because anytime kids get to help in the kitchen, chances are they will:
- eat the dessert faster
- want to cook with you again
Let us discuss the history of this dessert briefly. Tiramisu directly translates to “pick me up” in Italian. It is an incredibly fitting name. The robust coffee provides a wonderful little energy boost. The rich sugar and cream lift your spirits immediately. It is an iconic staple of modern Italian cuisine. Every family seems to have their own cherished version. I have thoroughly tested many variations over the years. I truly believe my simplified approach is the absolute best.
Traditional versions usually rely on raw egg yolks. They also use heavily whipped raw egg whites. Some modern variations cook the eggs over a double boiler. I find that cooking method incredibly tedious. It often results in a dense, overly heavy cream filling. I wanted a genuinely easy tiramisu recipe for everyday life. It needed to taste better from scratch. It also needed to skip the endless fuss.
The good news? My secret is omitting the eggs completely. I use cold heavy whipping cream instead of egg whites. This creates a remarkably fluffy and light texture. The fresh cream folds beautifully into the soft mascarpone cheese. It produces a rich, velvety layer. You get all the classic flavor without any kitchen stress. You will never want to go back to complicated methods.
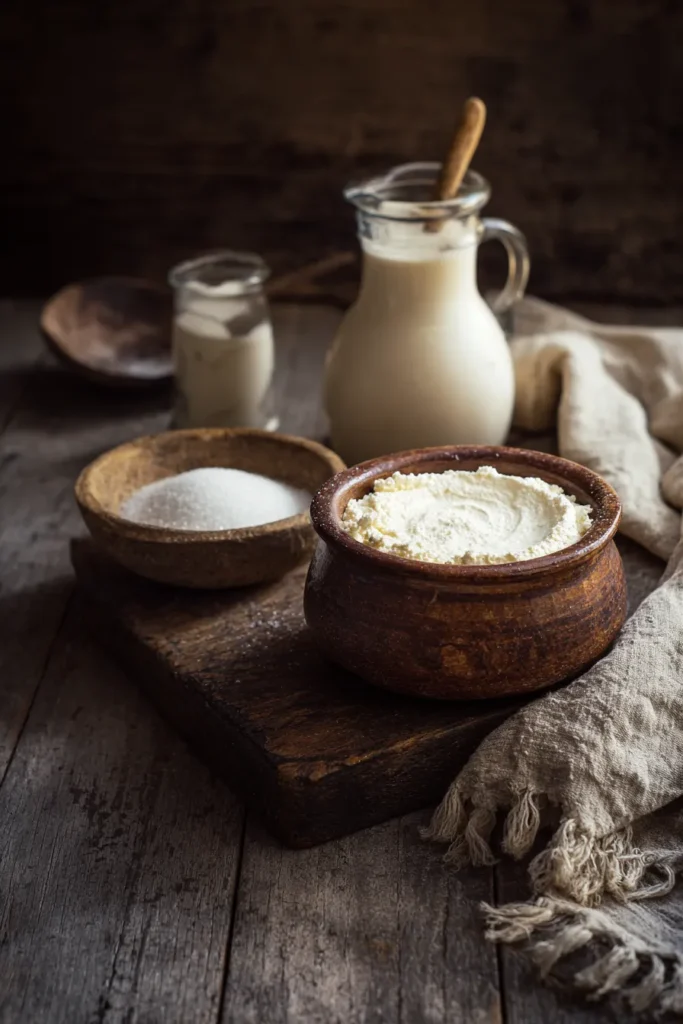
Choosing the right components makes a huge difference here. You really must use real, high-quality mascarpone cheese. It provides that signature tangy richness we all crave. Standard cream cheese simply cannot compare. The texture of mascarpone is luxuriously soft and buttery. It blends perfectly with the freshly whipped cream.
The coffee element is equally important. I highly recommend using strong, cold brewed espresso. It delivers a deeply robust flavor profile. This beautifully cuts through the sweetness of the cream layers.
No espresso machine? Do not worry. You can easily use strongly brewed regular coffee instead. Just make absolutely sure the liquid is completely chilled. Warm coffee is like a hot summer day to an ice cream cone. It will immediately melt your beautiful cheese filling.
Ingredients and Step-by-Step Instructions
Let us look closely at our simple ingredient list. You only need a small handful of accessible grocery items. Using quality ingredients ensures this easy tiramisu recipe tastes better from scratch.
| Ingredient | Quantity | Notes |
| Heavy whipping cream | 1 1/2 cups (360 ml) | Keep very cold for best whipping results |
| Mascarpone cheese | 8 ounces (225 g) | Must be at room temperature to mix smoothly |
| Granulated sugar | 1/3 cup (67 g) | Use fine white sugar for quick dissolving |
| Vanilla extract | 1 teaspoon (5 ml) | Pure extract or vanilla bean paste is preferred |
| Cold espresso | 1 1/2 cups (360 ml) | Strongly brewed and completely chilled |
| Coffee syrup | 3 Tablespoons (45 ml) | Optional addition for an extra flavor boost |
| Savoiardi Lady Fingers | 1 package | Found in the cookie aisle or available online |
| Unsweetened cocoa powder | As needed | For generously dusting the top layer |
Recipe Timing:
Prep Time: 10 minutes | Cook Time: 0 minutes | Total Time: 10 minutes (plus 3 hours chilling)
Servings: 9 | Difficulty: Easy
Now, let us walk through the simple preparation method together. We will carefully build this masterpiece step by step.
First, you need to prepare your fluffy cream filling. Grab a large, chilled metal or glass mixing bowl. Pour your cold heavy whipping cream into the bowl. Use an electric hand mixer for the very best results. A stand mixer fitted with a whisk works wonderfully, too.
Start beating the heavy cream on a medium speed. Gradually sprinkle your granulated sugar into the mixing bowl. Pour in the vanilla extract at this exact stage. Continue whipping the mixture. Stop when you achieve firm, stiff peaks. The whipped cream should hold its shape very firmly. Do not over-mix. Otherwise, it might quickly turn into butter!
Next, it is time to incorporate the mascarpone cheese. Add the room-temperature mascarpone directly to your whipped cream bowl. Use a large rubber spatula for this delicate step. Gently fold the soft cheese into the whipped cream. You want a beautifully smooth, fully combined creamy texture. Treat the mixture delicately. This keeps it wonderfully airy. Set this delicious bowl aside on the counter for a moment.
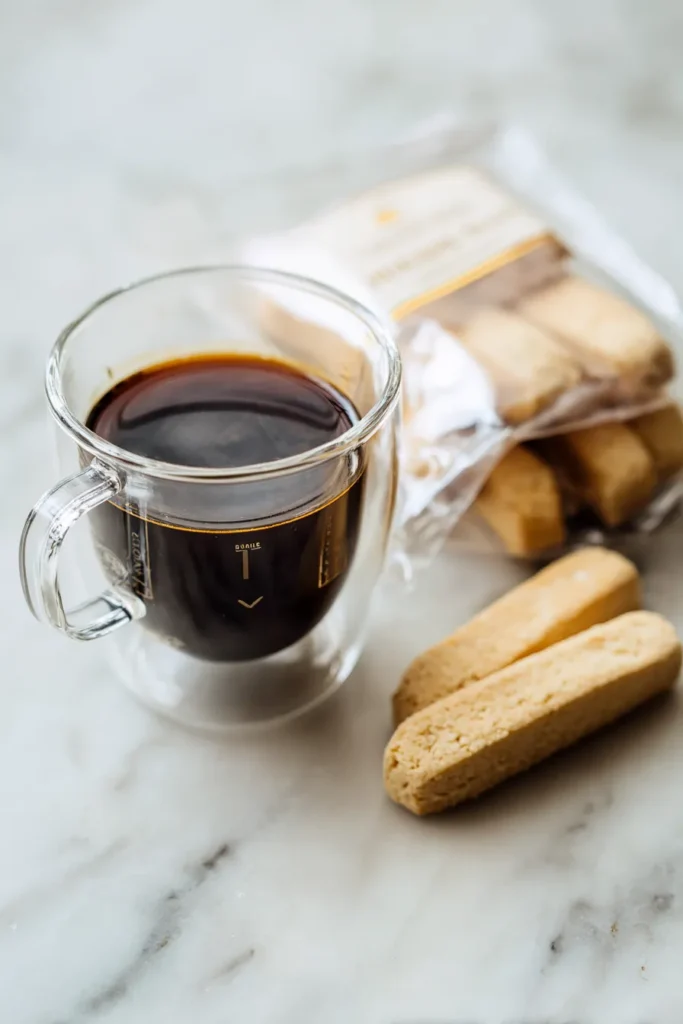
Now we will prepare the flavorful coffee soak. Grab a shallow, wide bowl for easy cookie dipping. Pour your cold, prepared espresso directly into it. If you are using coffee syrup, whisk it in now. The sweet syrup adds a lovely depth of roasted flavor.
It is time to dip the delicate ladyfingers. This is absolutely the most crucial step of the recipe. You must work very quickly and efficiently here.
- Take one single ladyfinger cookie in your hand.
- Dip it rapidly into the cold espresso mixture.
- Quickly flip it over to coat the other side.
- Remove it from the dark liquid immediately.
Do not ever let the cookie sit and soak. If it sits in the coffee, it becomes a mushy mess. A rapid, one-second dip is truly all you need.
Place the moistened cookie into an 8×8-inch glass baking dish. Repeat this exact dipping process with more ladyfingers. Arrange them closely together in a single, even layer. You want to cover the bottom of the pan completely.
Once your first cookie layer is properly placed, grab your cream. Scoop exactly half of the mascarpone mixture out. Drop it directly over your beautifully arranged ladyfingers. Use a small offset spatula to smooth it out. Gently push the thick cream all the way to the edges. Ensure the creamy layer is perfectly even and flat.
We will repeat the quick dipping process right now. Dip the remaining dry ladyfingers into the espresso quickly. Arrange them neatly on top of the first cream layer. Build a solid, beautiful second layer of soaked cookies.
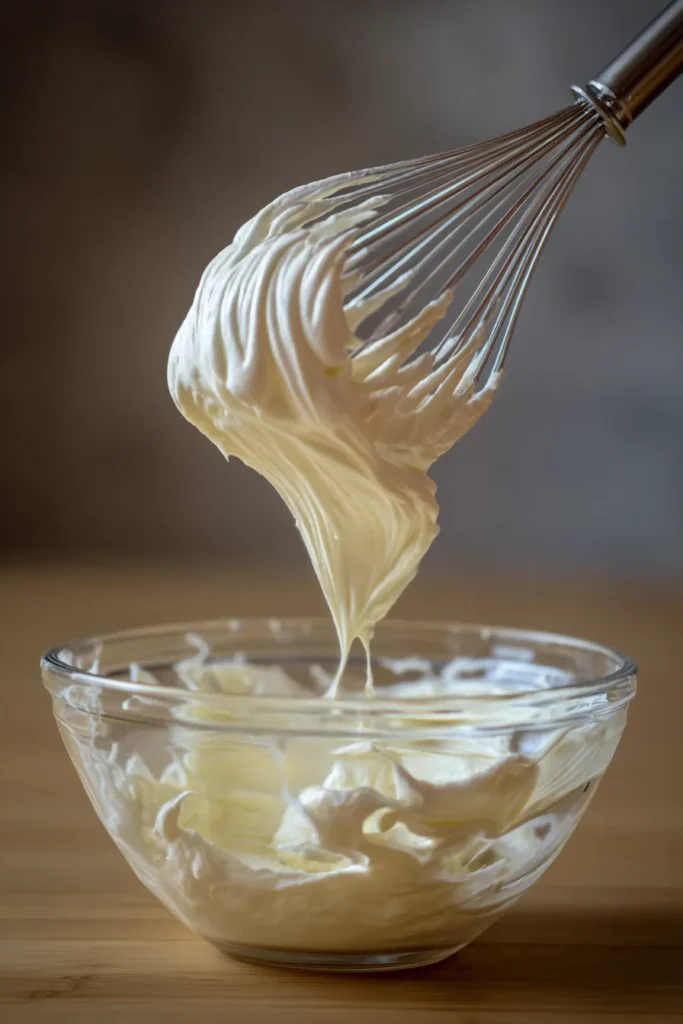
Scoop the remaining mascarpone mixture onto the second cookie layer. Smooth it out meticulously with your offset spatula again. You want a beautiful, pristine, flat top surface.
Finally, it is time for the classic chocolate finish. Grab a small fine-mesh sieve or a powdered sugar shaker. Fill it generously with your unsweetened cocoa powder. Hold it carefully over your filled baking dish. Tap the sieve gently to dust the fine cocoa. Cover the entire surface with a thick, even layer. The rich brown powder looks absolutely gorgeous against the white cream.
Your assembly work is now officially complete. The dessert absolutely must chill in the refrigerator now. Cover the baking dish tightly with standard plastic wrap. Leave it in the fridge for at least three full hours. For the absolute best results, let it chill overnight. The long resting time allows the flavors to meld beautifully. The ladyfingers will soften into a perfect, cake-like texture.
Storage Instructions and Frequently Asked Questions
Making this dessert ahead of time is a fantastic strategy. It actually tastes significantly better on the second day. The espresso fully permeates the crisp ladyfinger cookies overnight. The rich mascarpone cream also sets up firmly as it chills. This makes slicing and serving the dessert incredibly easy.
You can keep this dessert in the refrigerator safely. It remains fresh and delicious for up to three days. Just ensure you cover it very tightly with plastic wrap. This prevents it from absorbing other random fridge odors. Nobody wants a garlic-flavored Italian dessert!
You can also successfully freeze this dessert for later use. Simply assemble the entire dish as instructed above. However, do not dust it with cocoa powder just yet. Wrap the dish tightly in two separate layers of plastic wrap. Add a final, tight layer of aluminum foil on top. You can store it securely in the freezer for three months. When you are ready to eat it, plan ahead. Let it thaw gently in the refrigerator overnight. Dust the top with fresh cocoa powder just before serving.
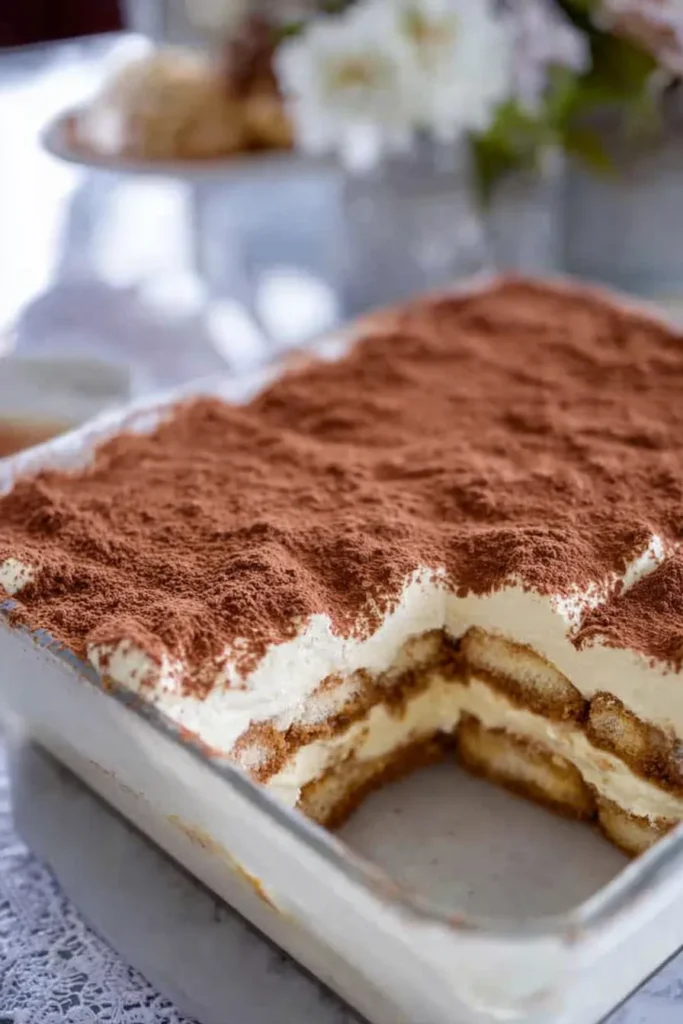
Let us discuss a few presentation and serving suggestions. When you are ready to serve, grab a sharp chef’s knife. Wipe the metal blade with a warm, damp cloth. A clean, warm blade ensures pristine, sharp slices. Cut the chilled dessert into nine equal square portions. Use a small, flat spatula to lift each slice carefully. Place the elegant slice onto a chilled dessert plate. The cold plate keeps the delicate cream firm while eating.
Let us quickly review some frequently asked questions. Many home bakers run into very similar kitchen issues. I want to ensure your total success making this dessert.
Frequently Asked Questions
Can I use a different type of cookie for this recipe?
You really need Savoiardi ladyfingers for this specific recipe. They have a uniquely dry, hard, sponge-like texture. This allows them to absorb the liquid coffee perfectly. Regular soft cookies will simply disintegrate into unappealing mush. You can usually find Savoiardi easily in the cookie aisle. They are also readily available to purchase online.
What if I cannot find mascarpone cheese locally?
Mascarpone is truly essential for the authentic flavor profile. It is a uniquely rich, Italian style of cream cheese. If you are truly in a bind, you can improvise. You could use standard full-fat cream cheese as a substitute. However, the resulting taste will be slightly more tart. It will definitely lack that delicate, buttery finish of real mascarpone.
Why did my cream mixture become runny and thin?
This usually happens if your mascarpone is far too warm. It should be at room temperature, not actively melting. Another common culprit is under-whipping your heavy cream initially. Ensure you reach stiff peaks before adding the soft cheese. You must also fold the cheese in very gently. Vigorous stirring will deflate the delicate whipped cream completely.
Can I make this dessert in a larger pan?
Absolutely! This standard recipe fits perfectly in an 8×8-inch dish. You can easily double the ingredient quantities for a crowd. A doubled recipe fits beautifully in a 9×13-inch baking dish. Just maintain the exact same simple layering technique. You will get about fifteen generous servings from a larger pan.
Does the temperature of the espresso really matter?
Yes, the liquid temperature is incredibly important here. You must use completely cold espresso or coffee. Hot coffee will instantly melt the delicate mascarpone cream. It will also cause the hard cookies to dissolve too quickly. Always brew your strong coffee early and chill it thoroughly.
Easy Tiramisu
Ingredients
- 1 1/2 cups heavy whipping cream keep very cold for best whipping results
- 8 ounces mascarpone cheese must be at room temperature to mix smoothly
- 1/3 cup granulated sugar use fine white sugar for quick dissolving
- 1 teaspoon vanilla extract pure extract or vanilla bean paste is preferred
- 1 1/2 cups cold espresso strongly brewed and completely chilled
- 3 Tablespoons coffee syrup optional addition for an extra flavor boost
- 1 package Savoiardi Lady Fingers found in the cookie aisle or available online
- unsweetened cocoa powder as needed, for generously dusting the top layer
Instructions
- Pour your cold heavy whipping cream into a large, chilled mixing bowl. Beat on medium speed, gradually sprinkling in the granulated sugar and pouring in the vanilla extract. Whip until you achieve firm, stiff peaks. Do not over-mix.
- Add the room-temperature mascarpone directly to your whipped cream bowl. Gently fold the soft cheese into the whipped cream using a large rubber spatula until beautifully smooth and fully combined. Set aside.
- Pour your cold, prepared espresso and coffee syrup (if using) into a shallow, wide bowl for easy dipping.
- Working quickly, take one ladyfinger cookie and rapidly dip it into the cold espresso mixture. Quickly flip it to coat the other side, then remove immediately (a rapid one-second dip is all you need).
- Place the moistened cookie into an 8×8-inch glass baking dish. Repeat with more ladyfingers, arranging them closely together in a single, even layer to cover the bottom of the pan completely.
- Scoop exactly half of the mascarpone mixture out and spread it directly over your arranged ladyfingers. Use a small offset spatula to smooth it evenly to the edges.
- Repeat the quick dipping process with the remaining ladyfingers, arranging them neatly on top of the first cream layer.
- Scoop the remaining mascarpone mixture onto the second cookie layer and smooth it out meticulously until the top surface is flat and pristine.
- Fill a fine-mesh sieve with unsweetened cocoa powder and generously dust the entire surface with a thick, even layer.
- Cover the baking dish tightly with plastic wrap and chill in the refrigerator for at least 3 hours (overnight is highly recommended) before slicing and serving.